Iceland is very beautiful. I think that is a fitting opening statement. But at the same time very vast. Unfortunately, most of us are limited on the days we have to explore this spectacular country.
I was travelling with my good buddy, André, who had pitched me the idea of going to Iceland. I was game!
We had only made a rough plan before taking off. In fact, the only thing we had booked was our return flight. It gave flexibility to go where the road took us. Our plan was to head north the first day and then go southeast into the country and from there hit the coast and head back up north to Reykjavik. We had a few places we would like to visit which functioned as fix points.
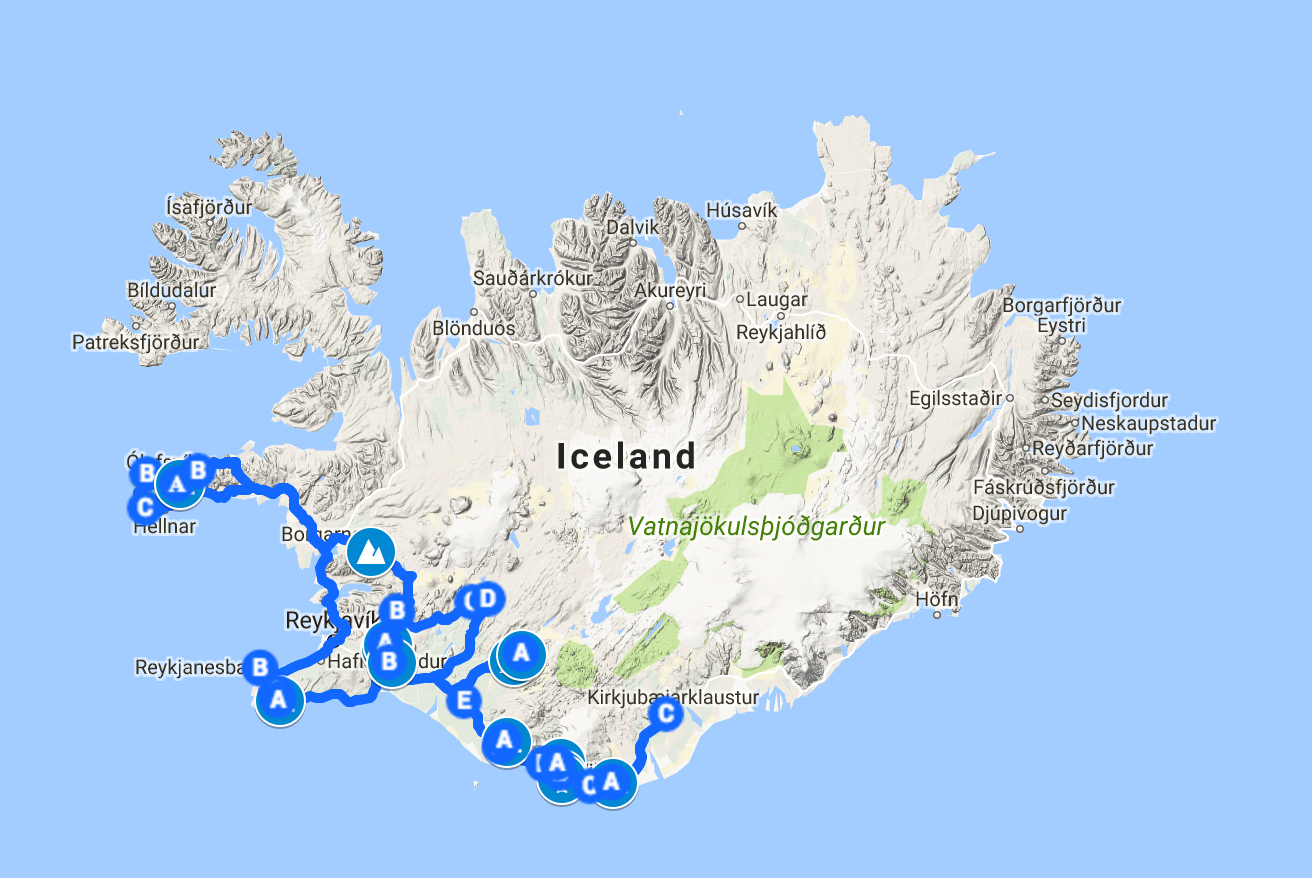
Access Google Maps with the route, camp spots, hikes, places to see etc. here
So, if you have 7 days in Iceland how do you make the most of them? Here is my bet:
Day 1, Snæfellsjökull
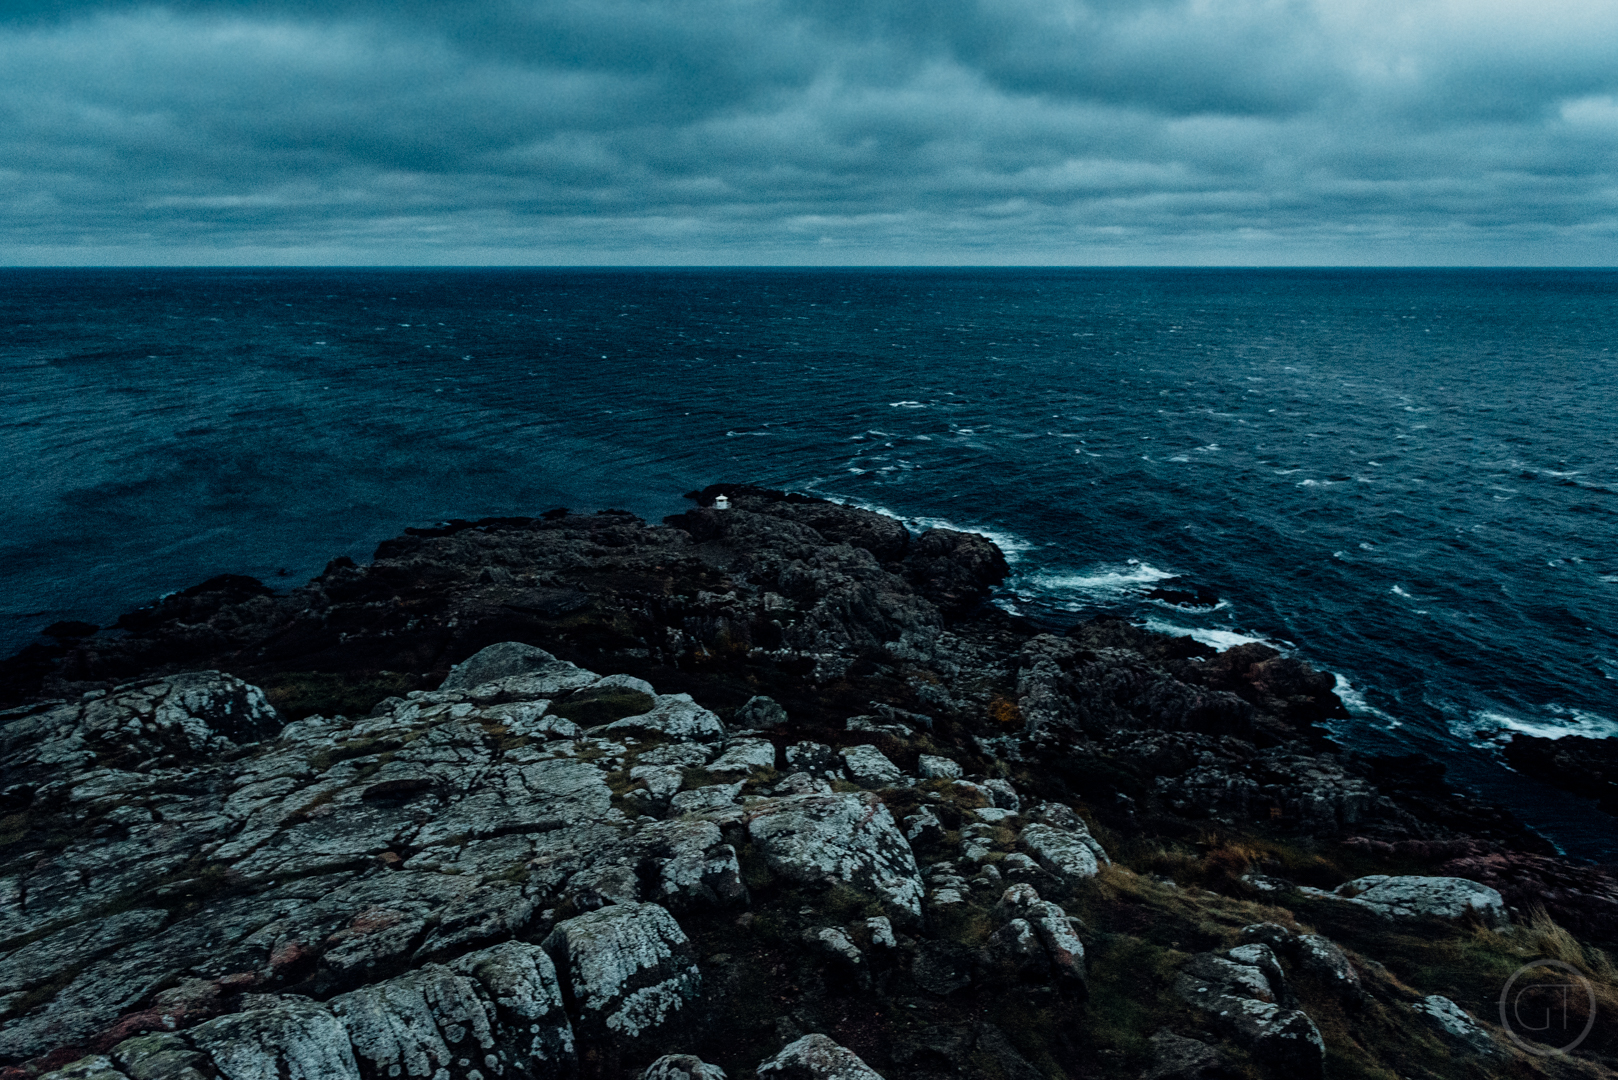
As we stepped out of the airport lobby it was obvious we were in the arctic. Although it was start of August it the clean air was a little chilly. We quickly got our rental car and headed north towards Snæfellsjökul.
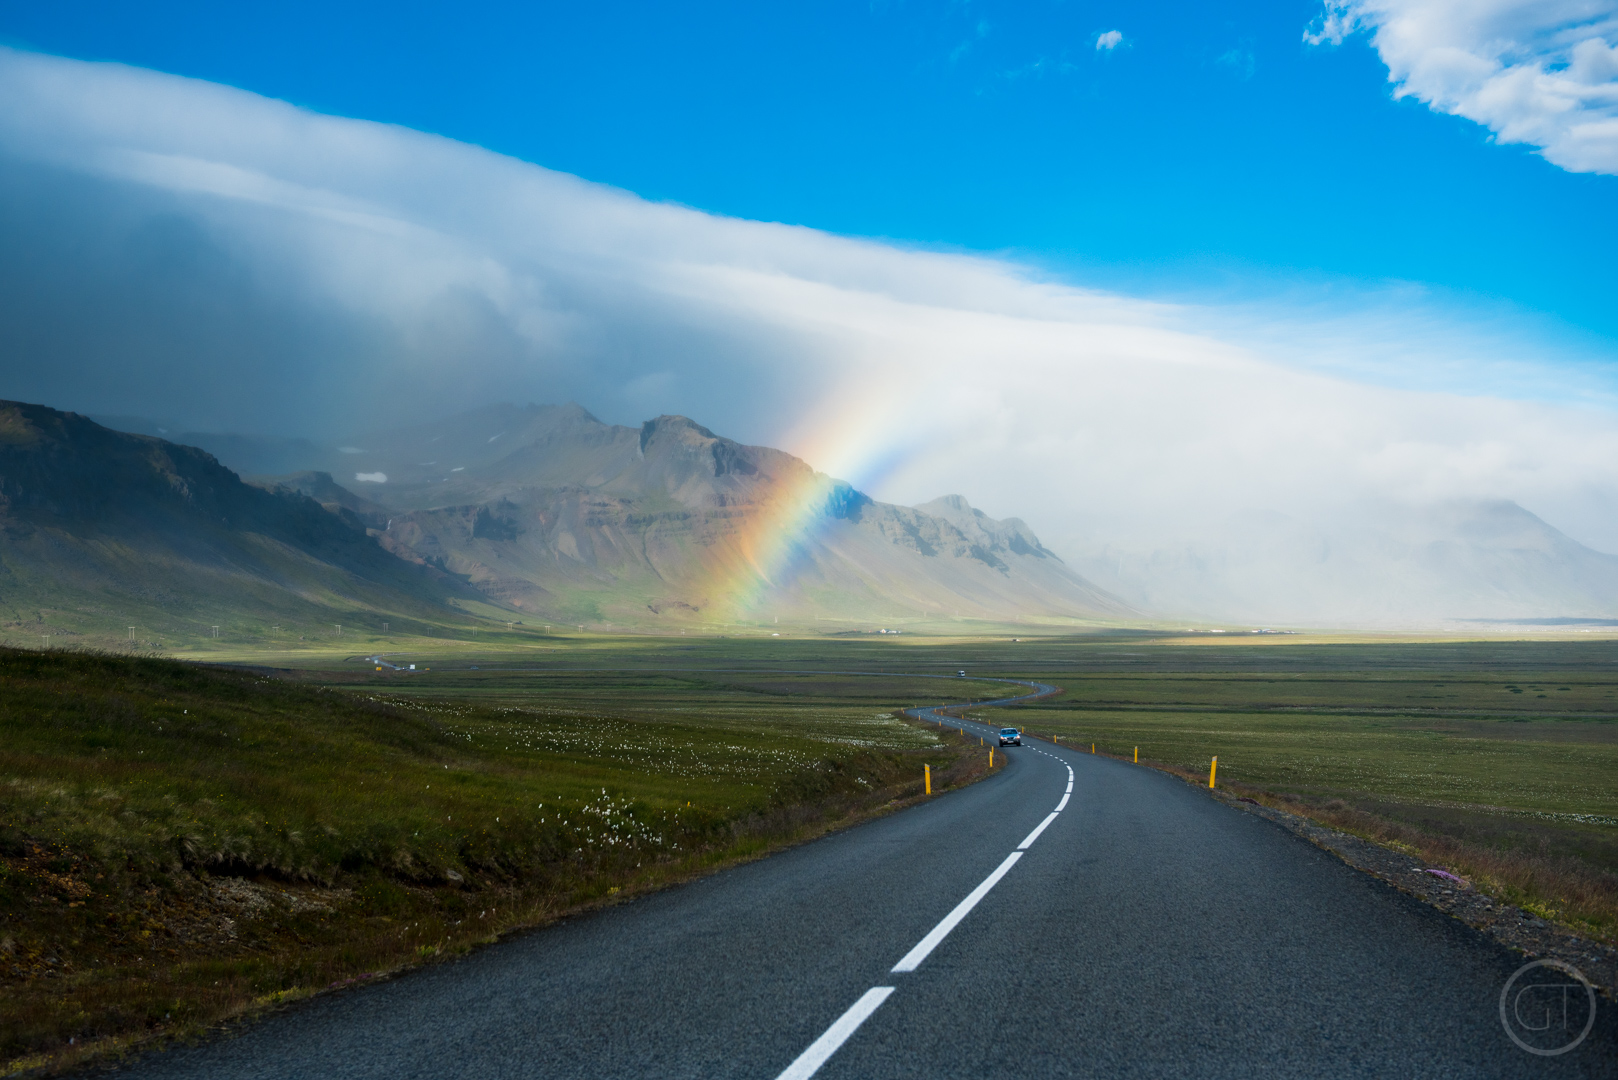
The roads were nice and the Icelandic landscape surprised around every corner: Flowing rivers, rugged mountains, black sand beaches and colourful rainbows in an endless stream. We drove around Snæfellsjökull and stopped along the road to explore caves, tiny volcanoes and the coast.
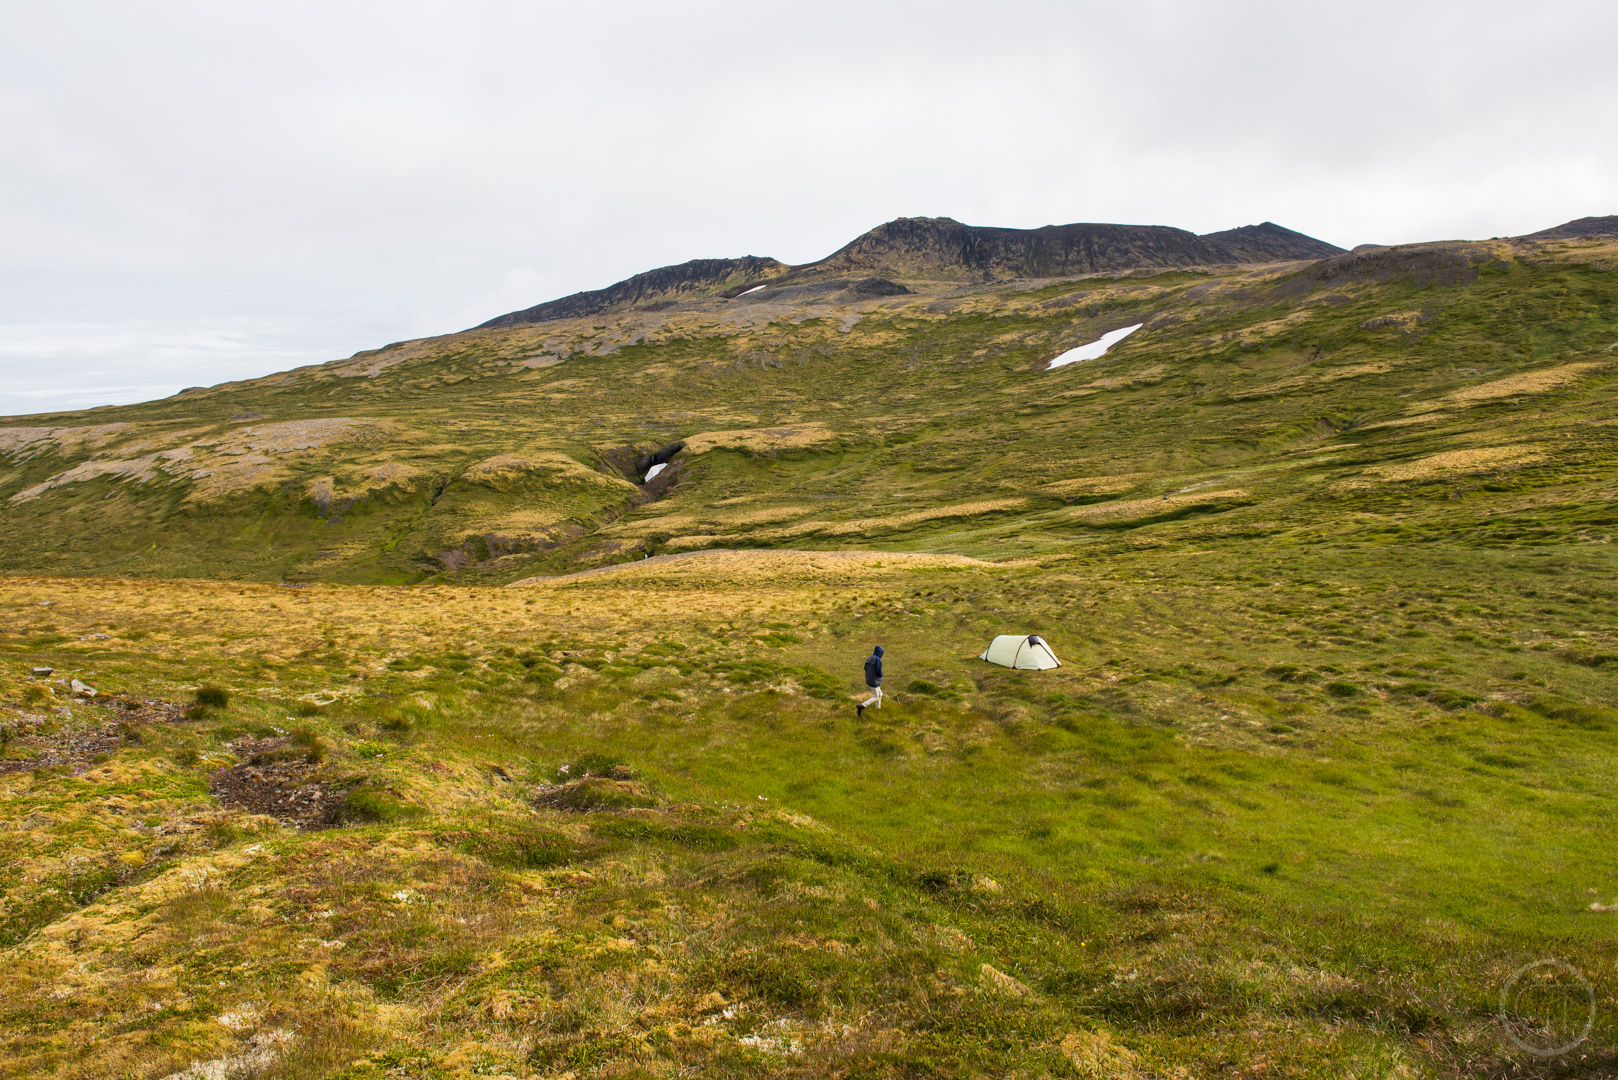
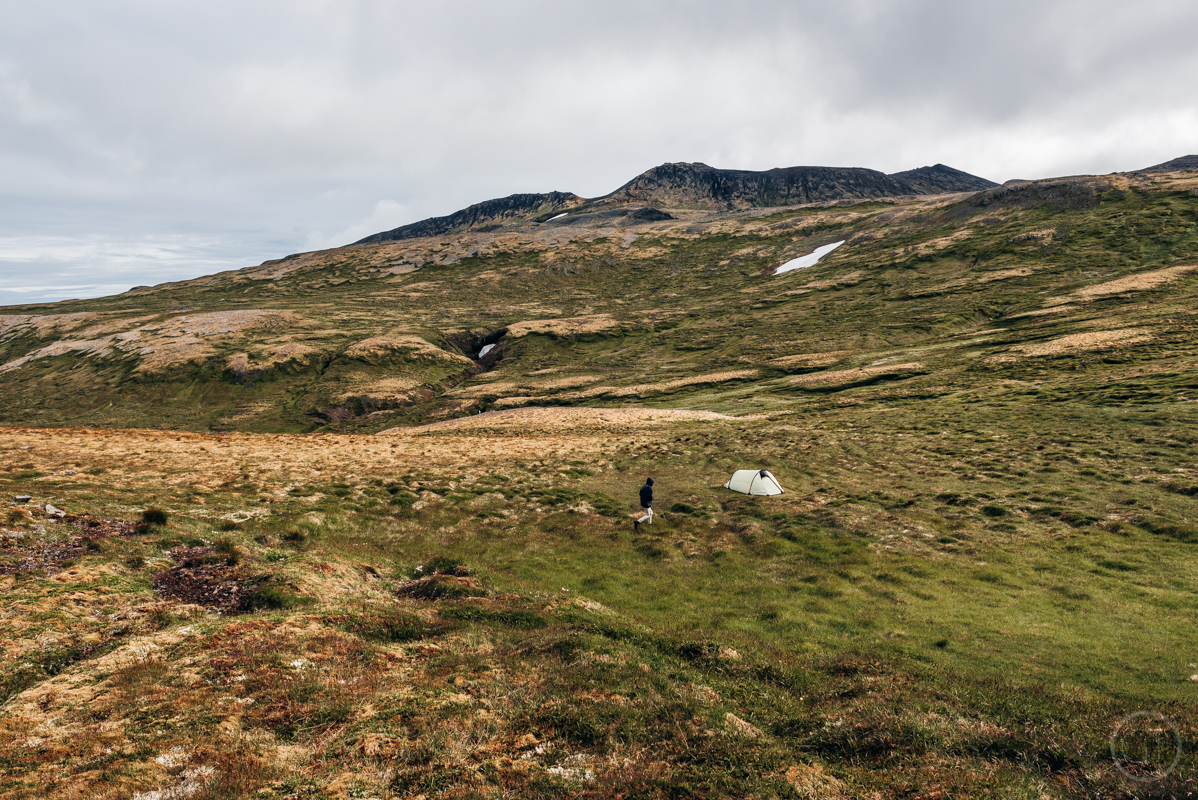
We ended the day pitching our tent in the backcountry, which is allowed in Iceland. Remember to leave no trace and respect “no camping” signs. After a hot meal for dinner we went to sleep for what would be a very windy night! I was seriously concerned about the tent breaking. If you plan on camping make sure to bring a quality equipment – it will probably be stormy at some point.


Click the photos to enlarge.
Day 2, Off-Road Adventure to Þingvellir
After a quick breakfast, we were on the road again. We both wanted to see Kirkjufjell and the foss next to it. In fact we drove right past without knowing. Bummer. Onwards.
The next stop was Þingvellir National Park (Þ is pronounced ”th”). We didn’t want to drive the same road twice, so we found another road which would lead us to Þingvellir. It was a dirt road which was fine at first but after a while it worsened. Not the best idea in a tiny rental car. It was doable but we only met 4x4 on this road.
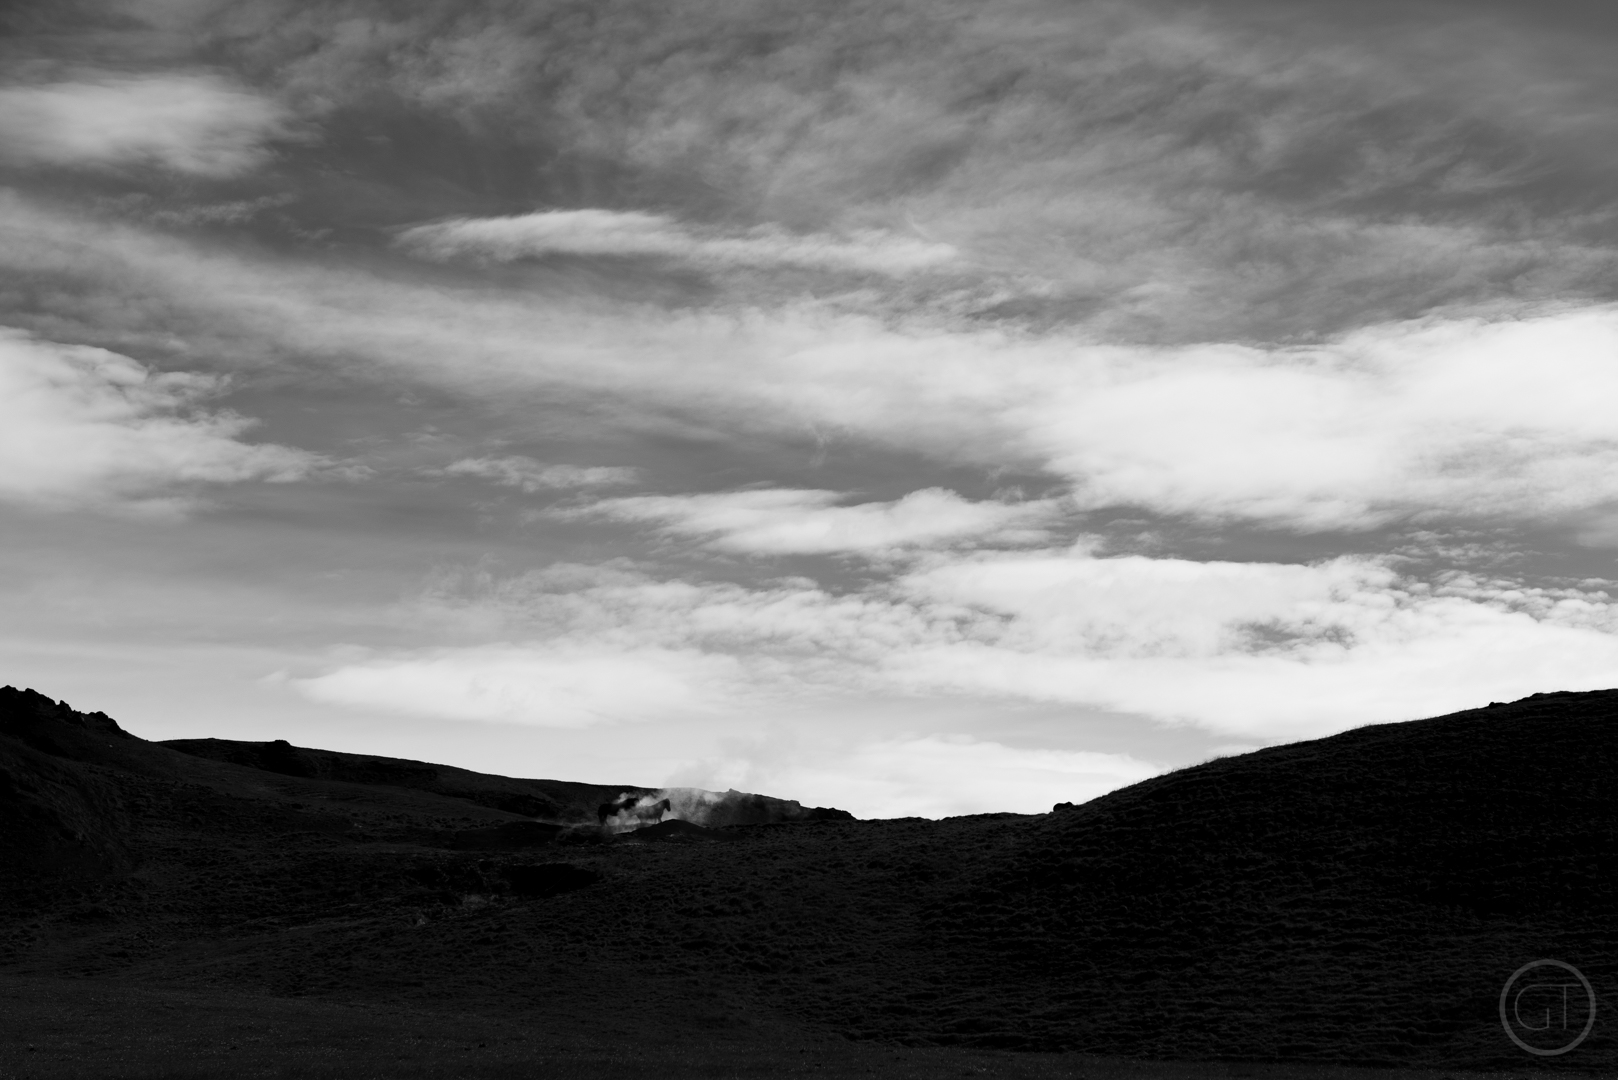
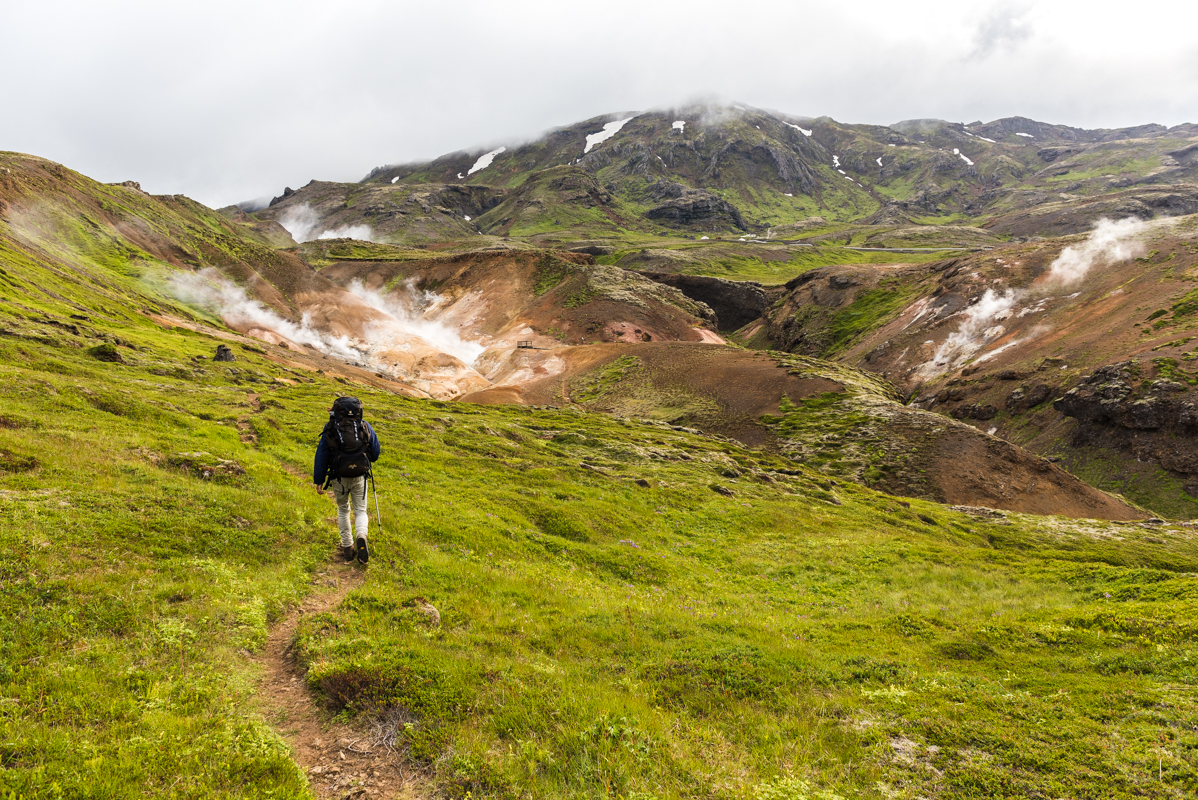
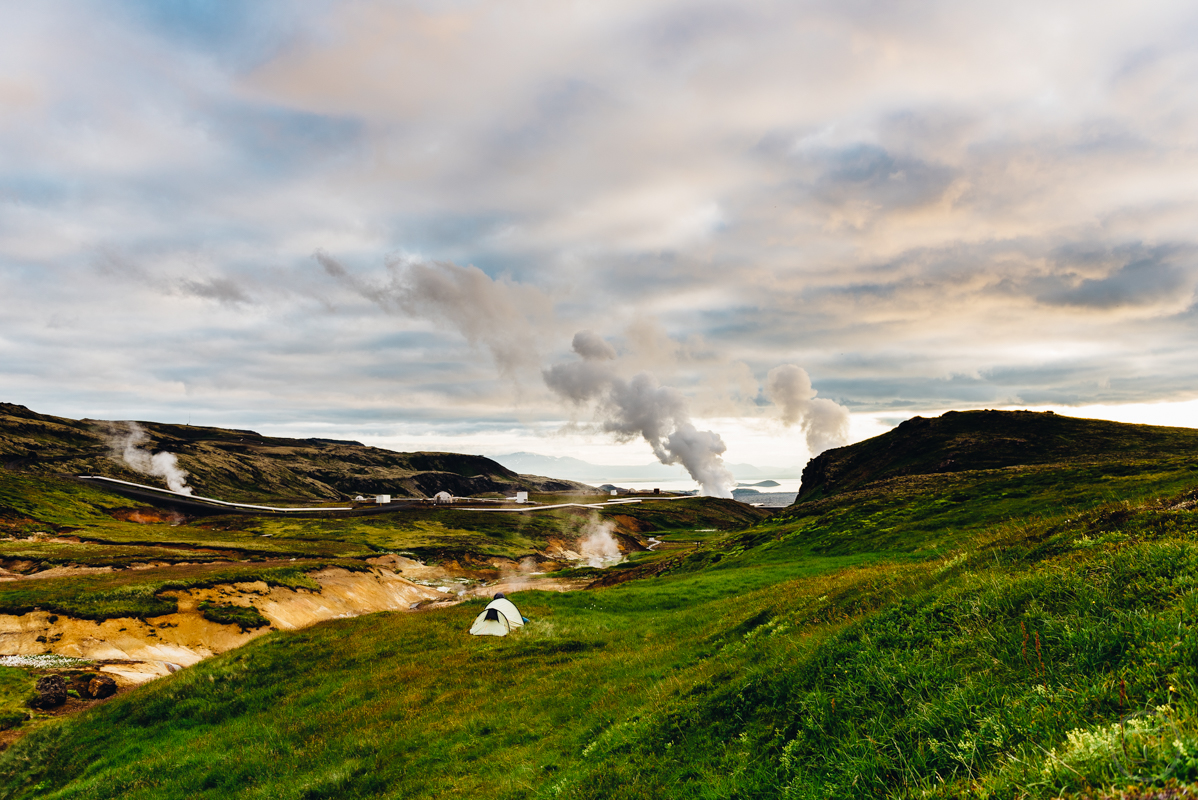
In Þingvellir 2 tectonic plates meet which creates some cool rock formations and fissures. While exploring Þingvellir massive steam clouds in the distance caught our eyes. We decided to try to find them.
After a bit of driving around we finally found the source: A geothermal power plant. We found a trail that lead into the mountains behind the plant. We packed our backpacks and headed up to explore and to find a place to stay for the night. As we moved through this weird landscape the smell of rotten eggs from the geothermal activity was ever present. After an hour or so we found a place to pitch the tent where the smell wasn’t too bad. We enjoyed the view of this otherworldly landscape as we ate our dinner. After a long and adventurous day we were tired which helped us fall asleep in the light arctic night.


Day 3, Tourist Challenge
We woke up fairly early as we had decided to visit the places on the golden circle tour which is the most touristy spots in Iceland. To beat the other tourist we made an early start. Most people don’t like waking up early, so did that to get the places somewhat to ourselves.
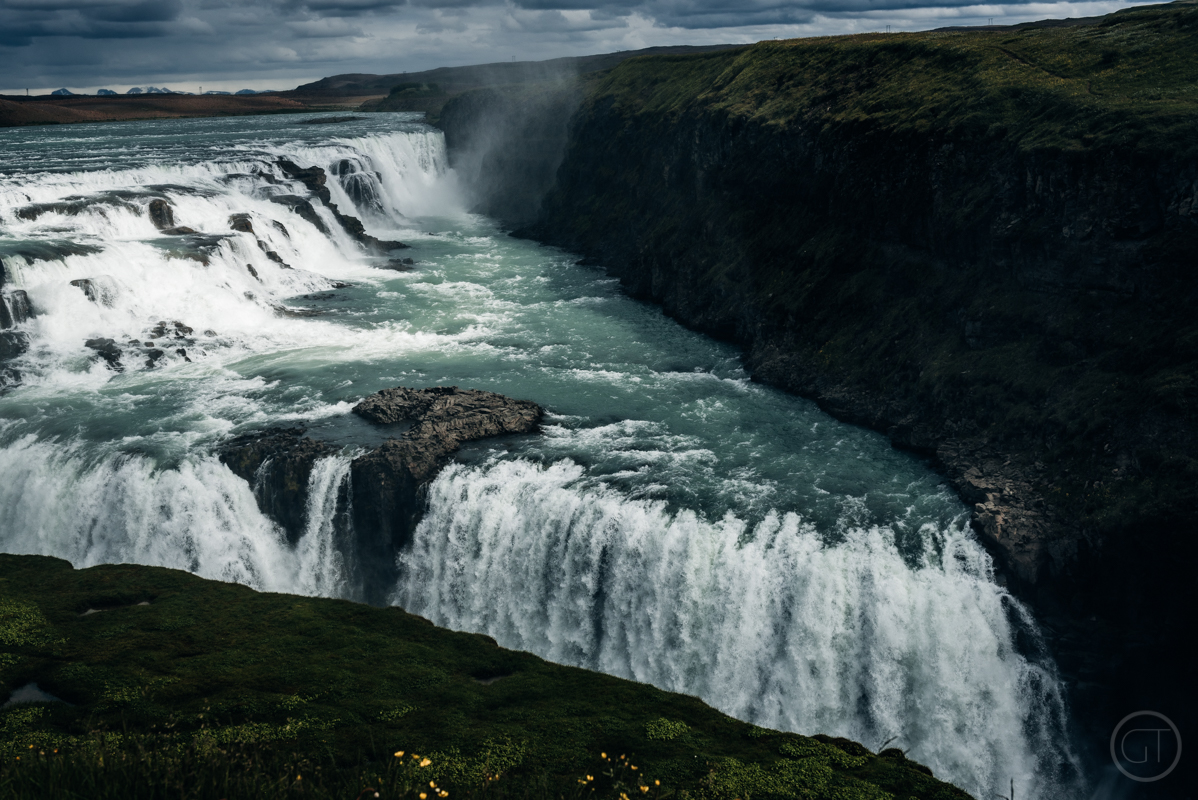
The plan worked out somewhat, but after Geysir the clock turned 10 and the busses from Reykjavik started arriving. When we made it to Gulfoss it was pure madness. All of these places are truly beautiful and unique – and worth a visit. But you will not have them to yourself.
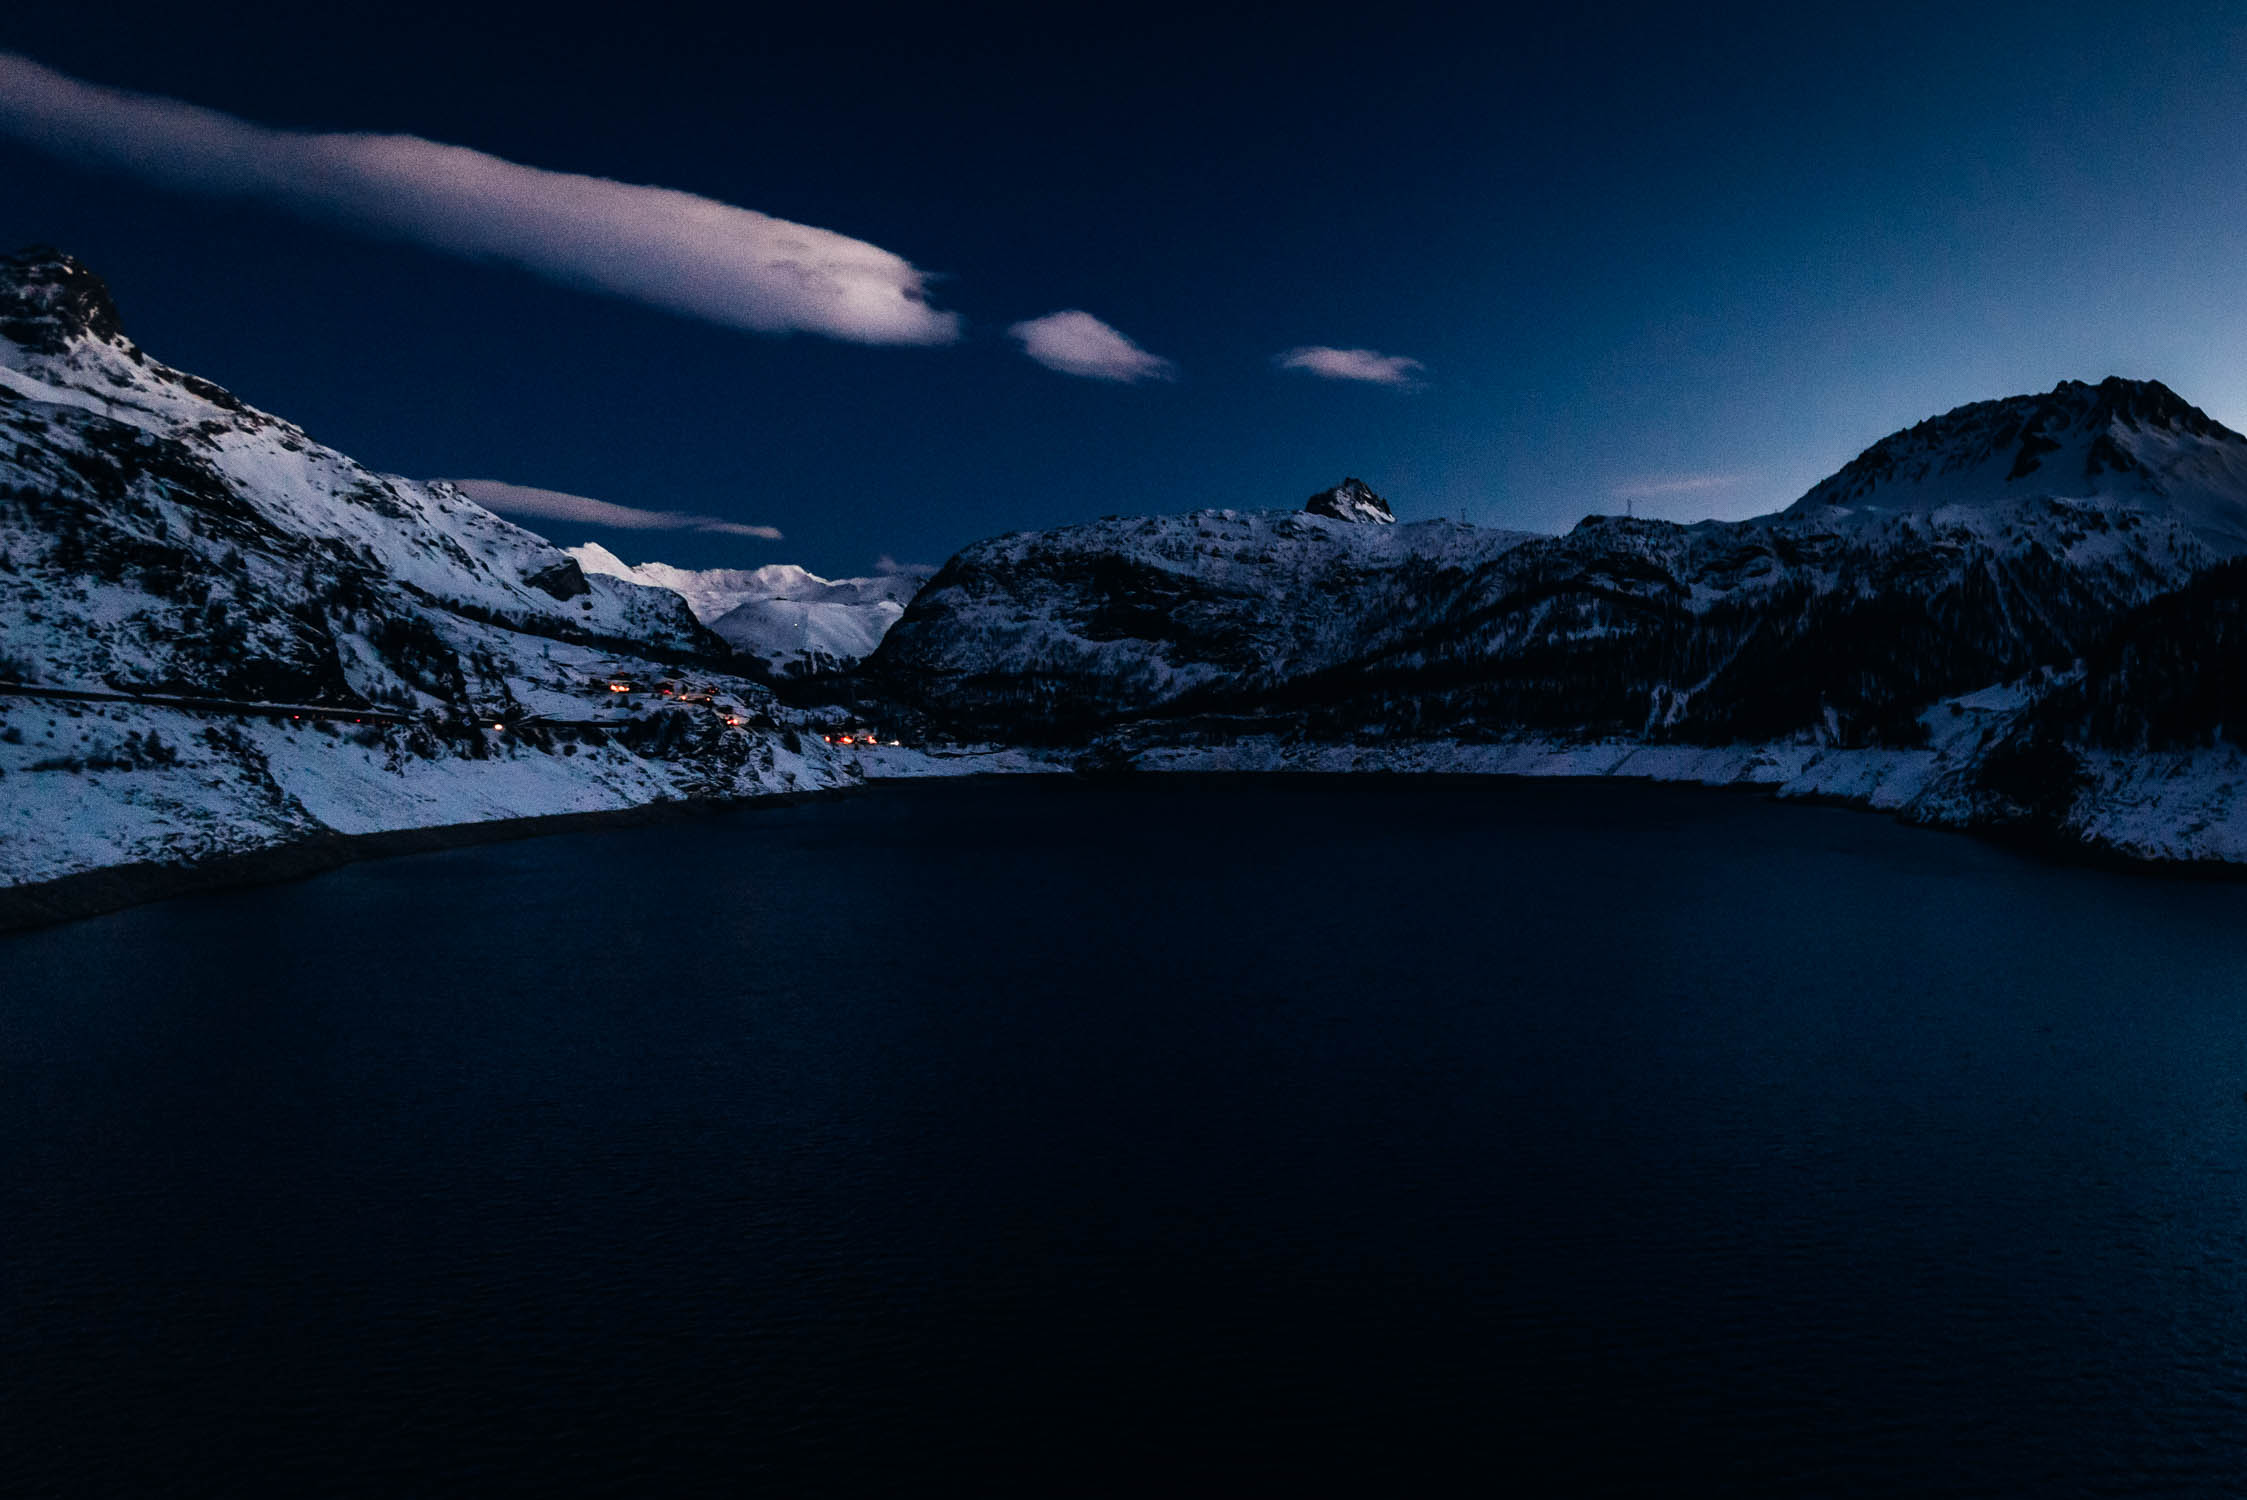
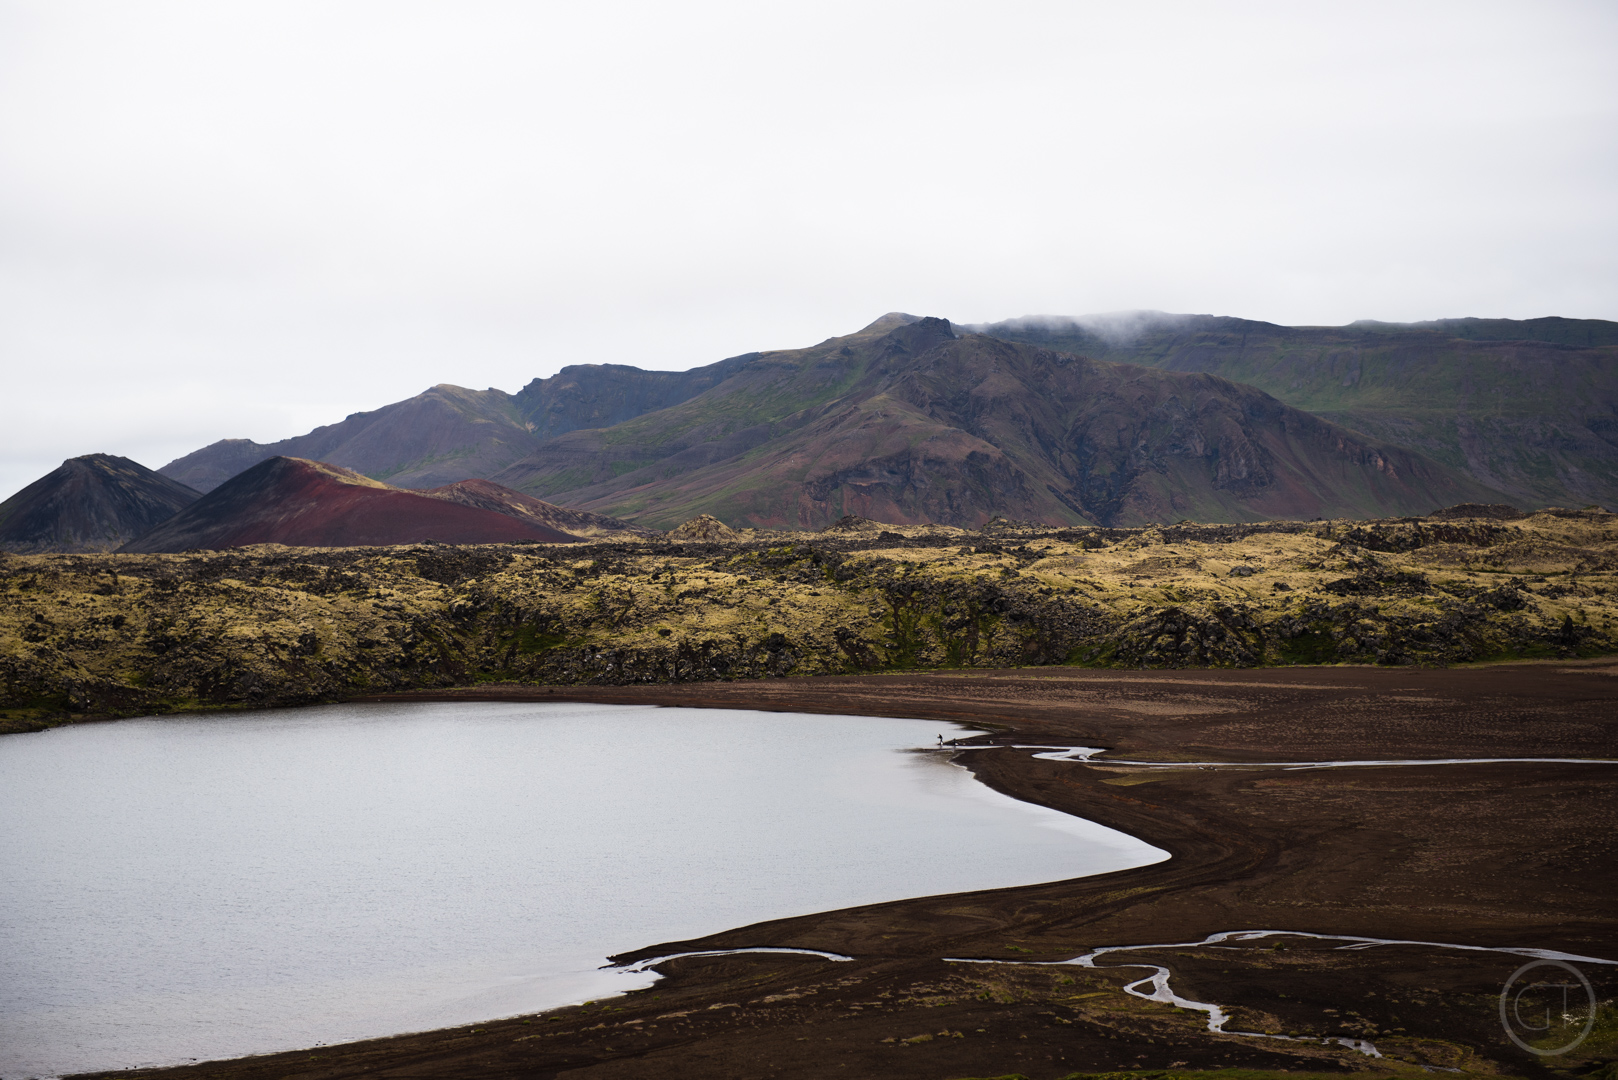
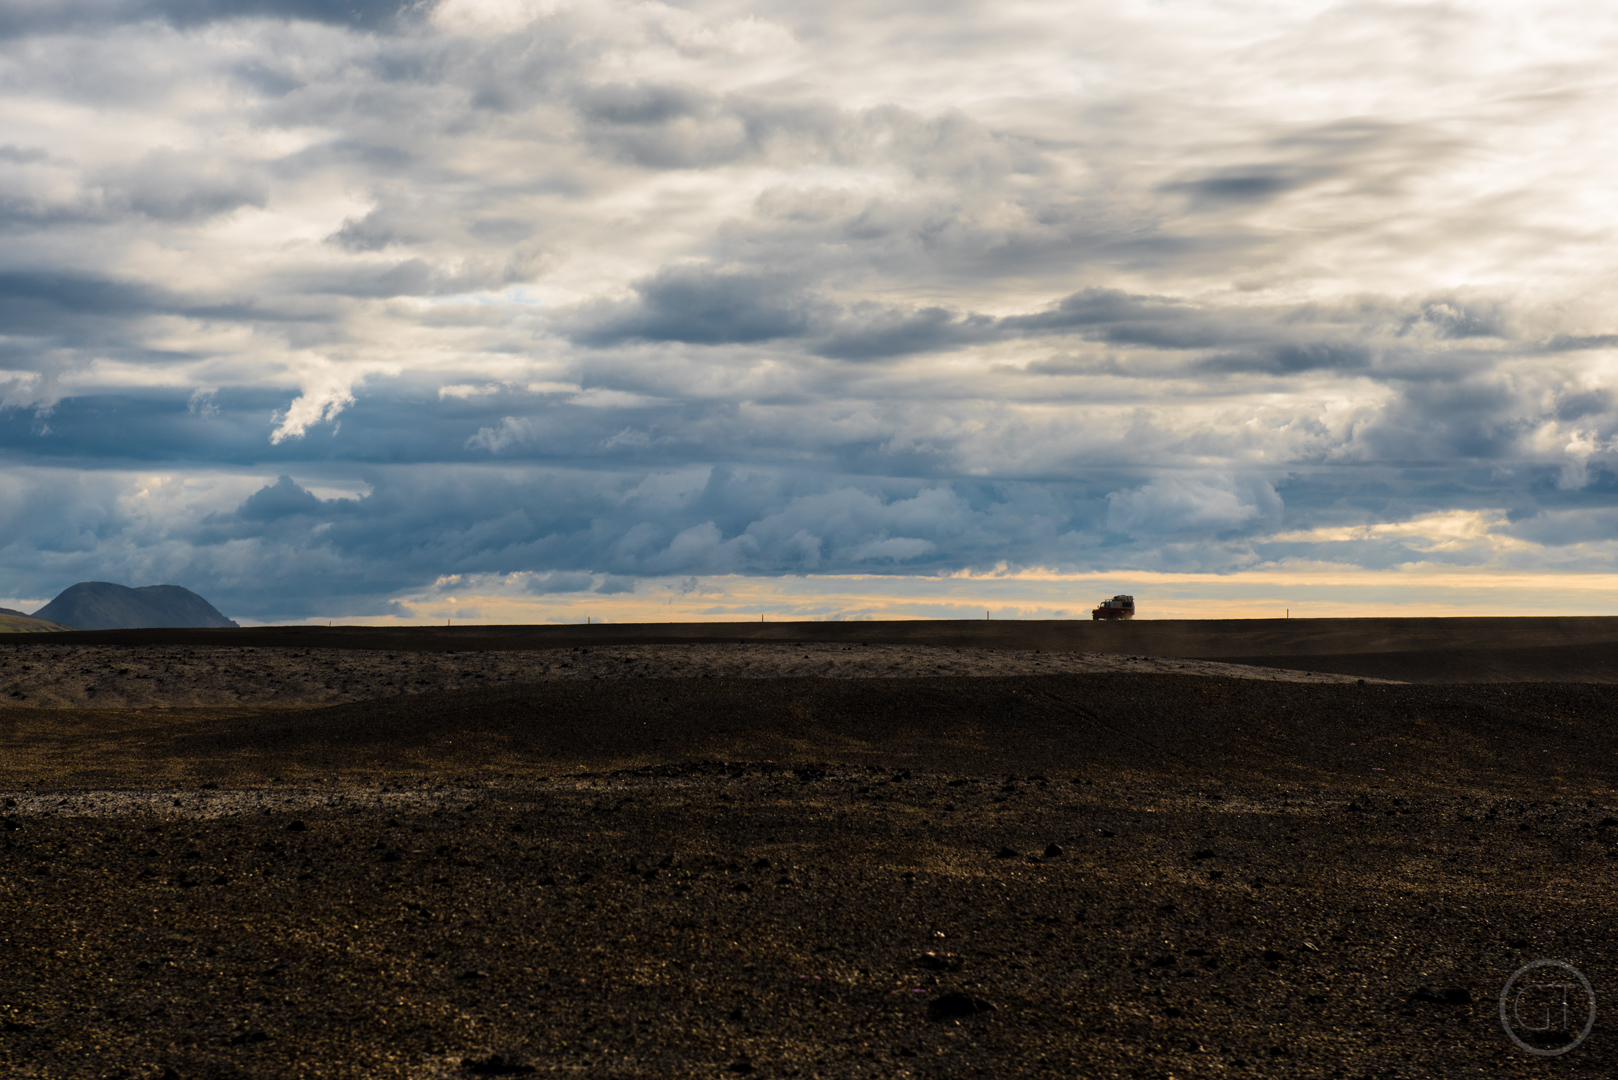
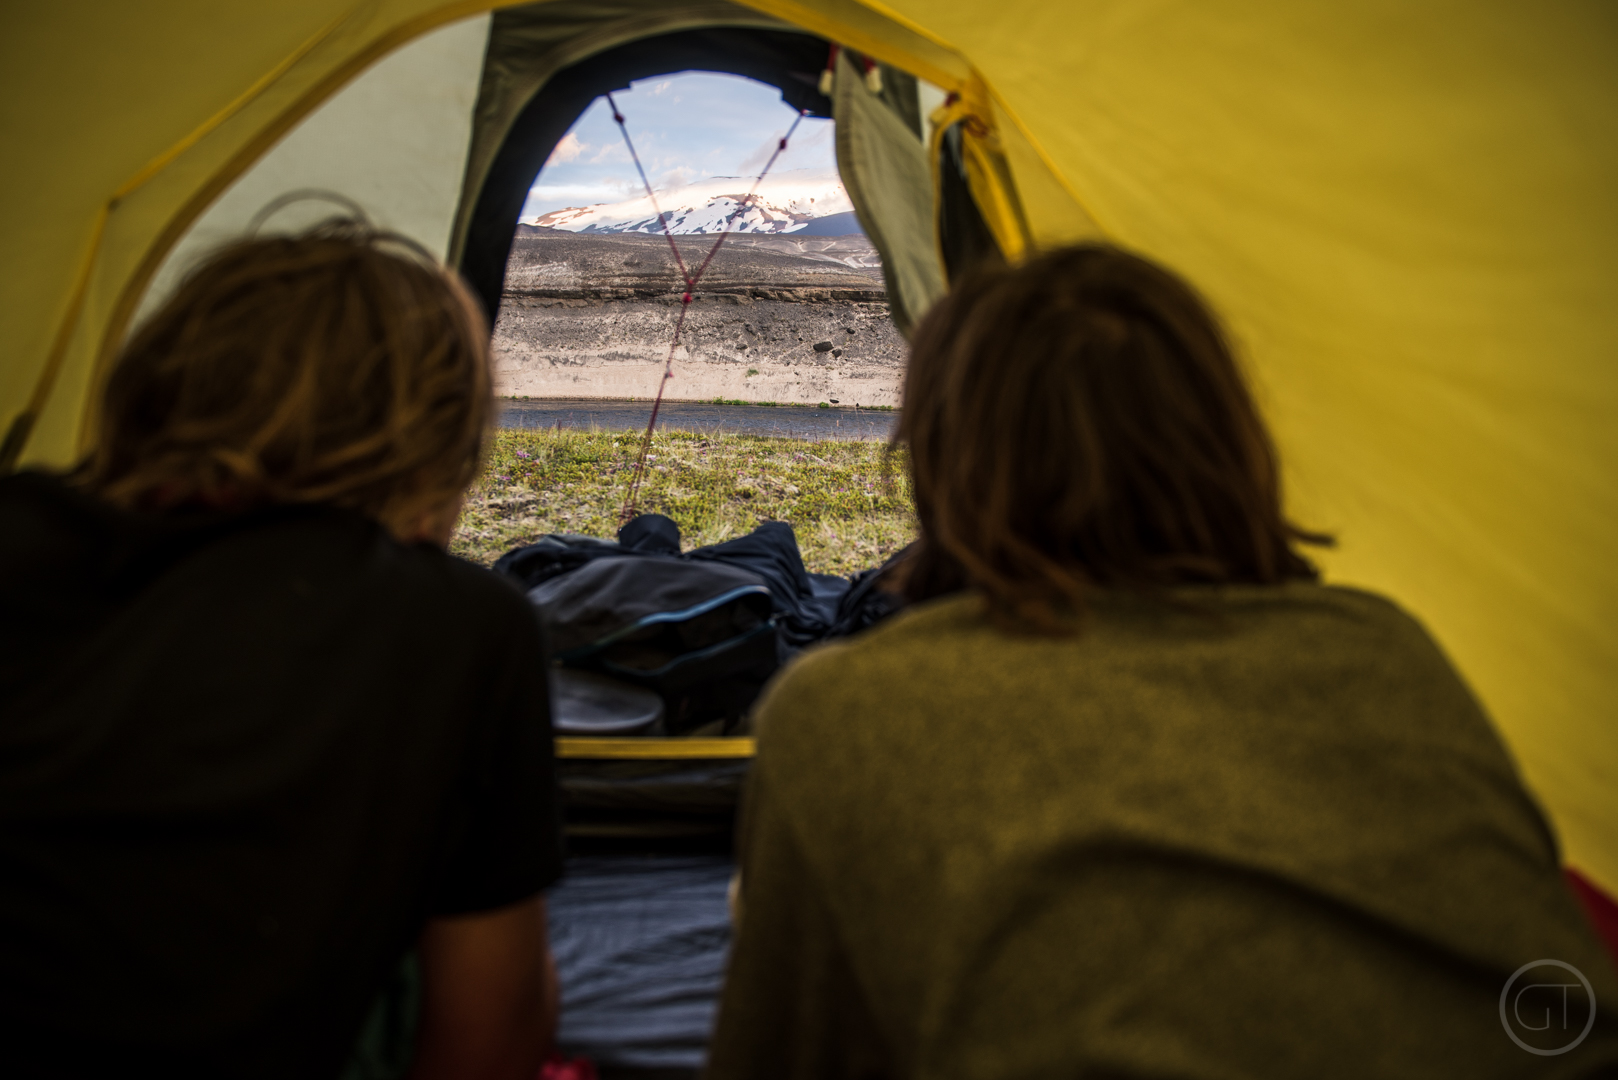
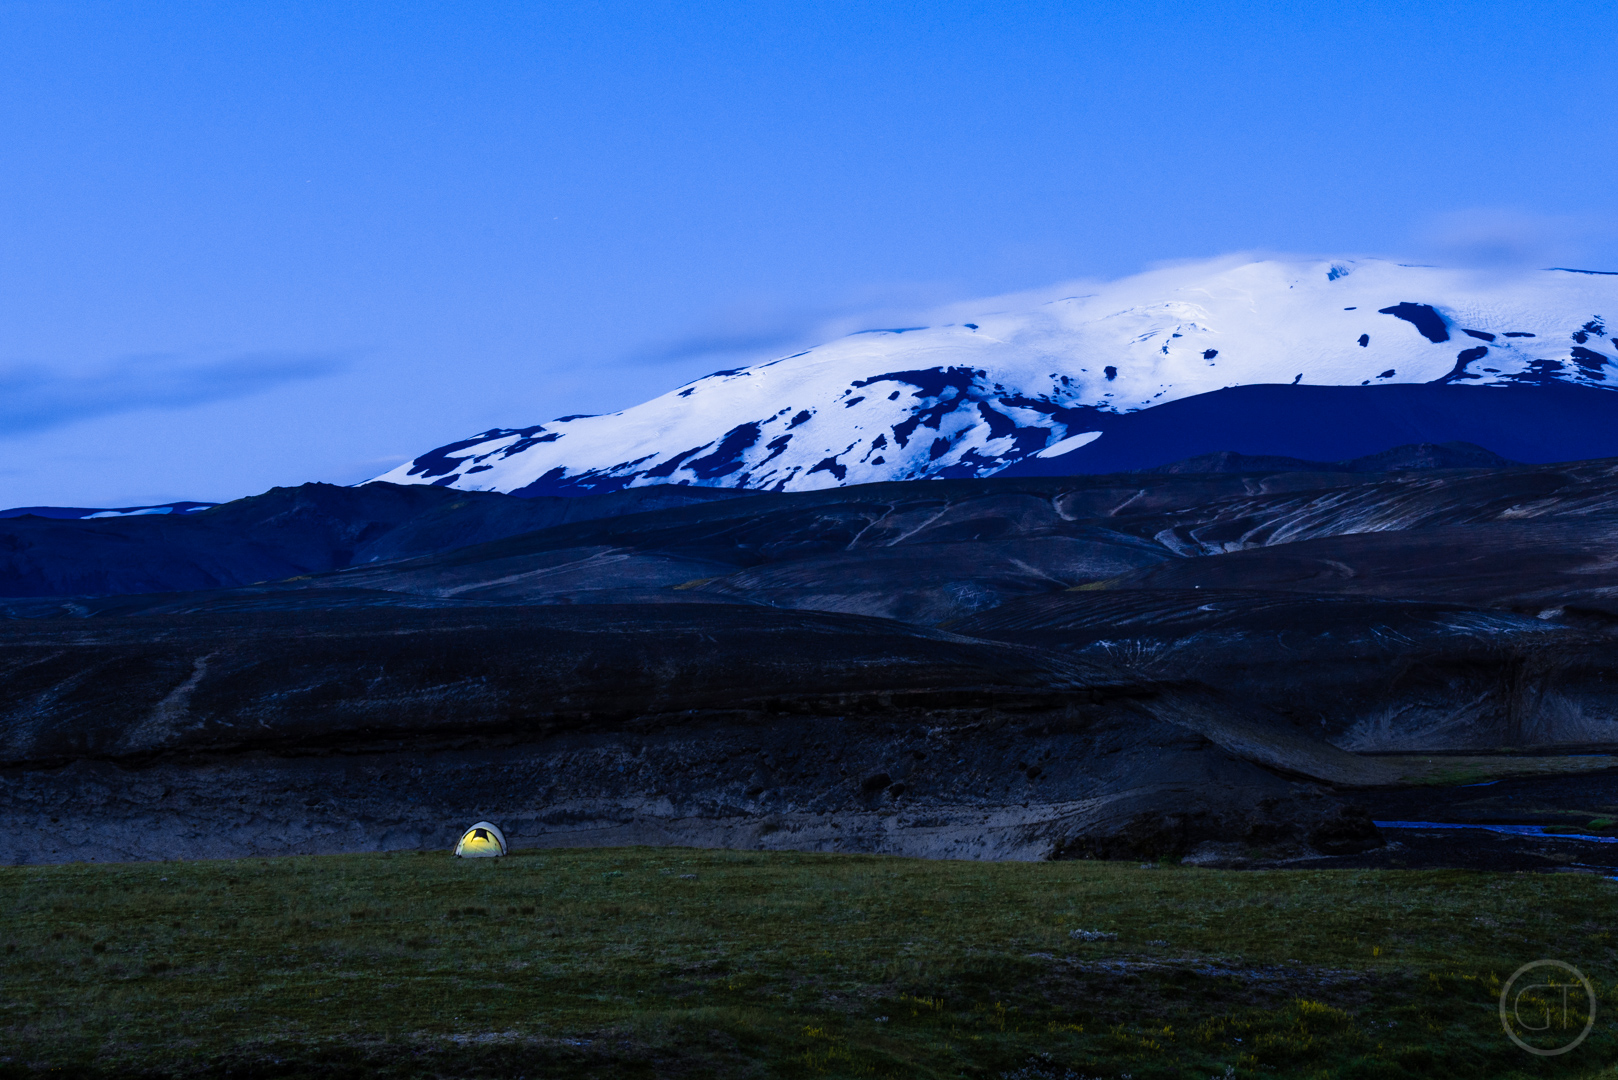
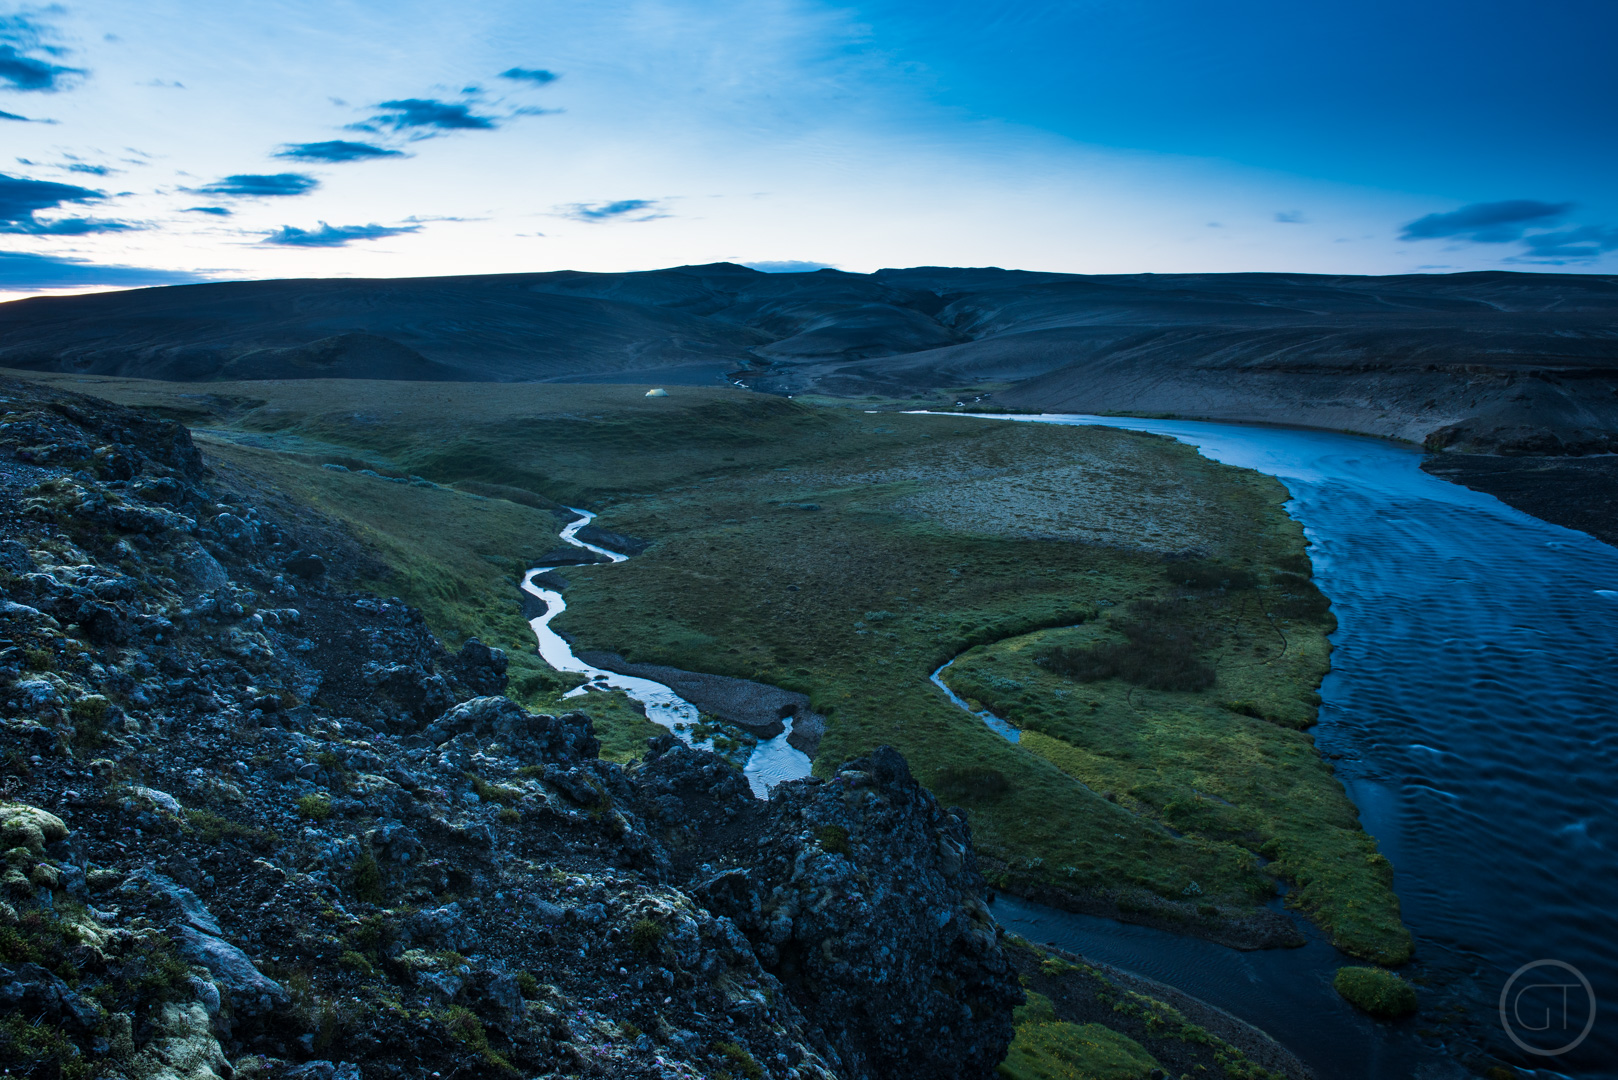
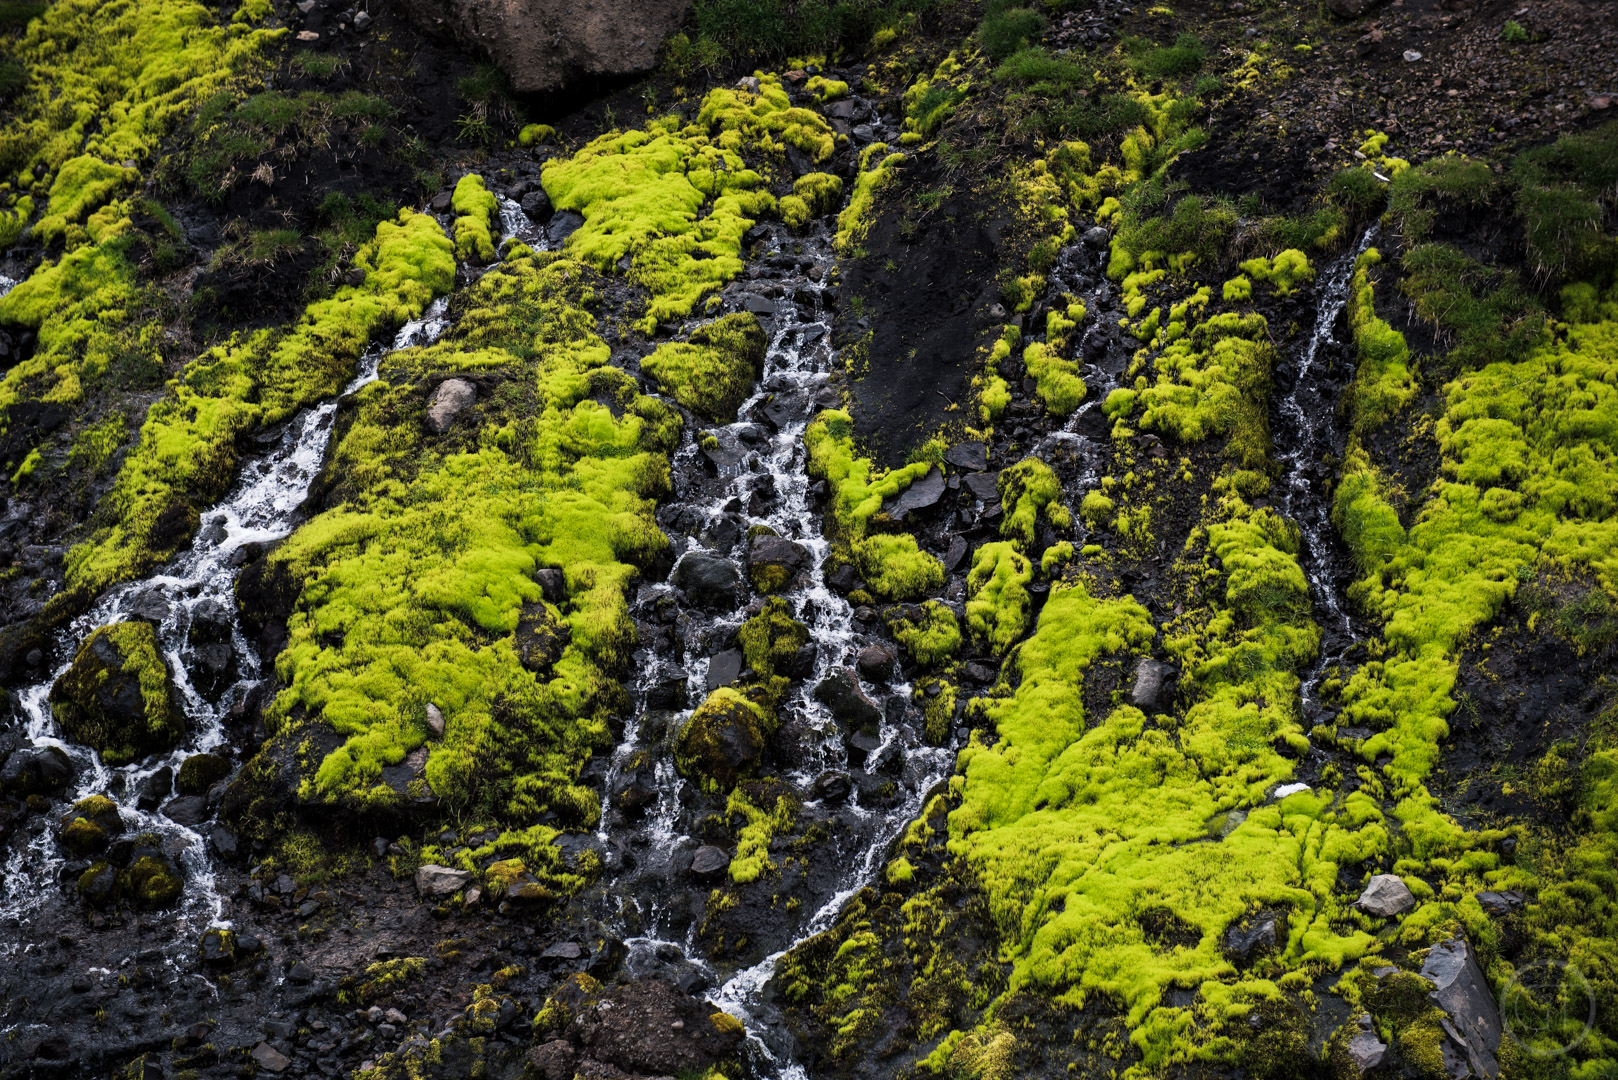
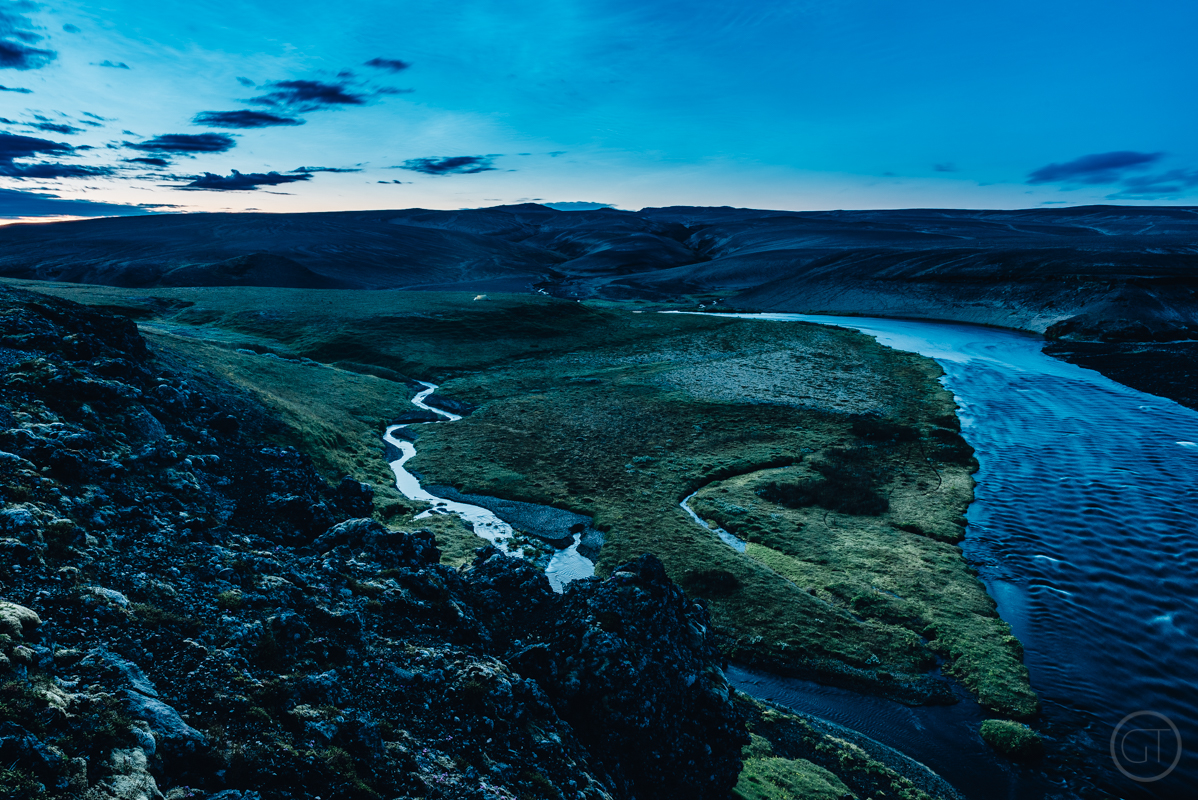
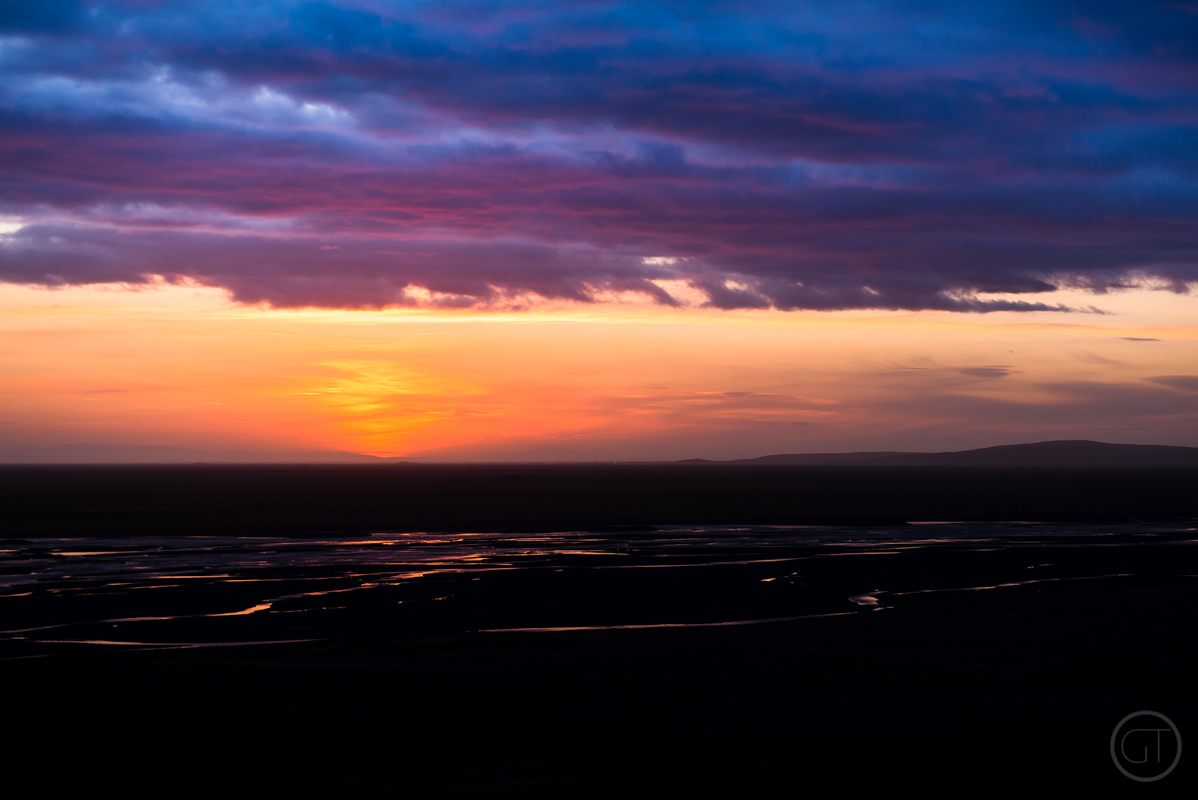
After Gulfoss we headed towards the coast. It was late afternoon and we started to scout for a place to sleep. As got closer to the coast the land flattened and turned into mostly farmland. So we tried our luck and found a road going back into the country. An hour of driving through a flat desert like landscape we met a 4x4 only sign. Damn. It was getting late. Frustratedly we turned around and turned into a small parking-area-thing in the side of the road where we could assess the situation. I opened the door and stepped out the car to stretch my legs. As I stood out a weird noise came to my ear. Out of nowhere in this desert like landscape came a river with a flowing waterfall. Along the river was a trail. It was like winning the lottery. We quickly decided to put on the backpacks and head along the river until we found a fitting campsite. After a short hike, we found the most incredible spot. Perfectly flat, close to the river and a volcano in the background. We downed the dinner as we enjoyed this lucky strike.
I went out to shoot some photos of the sunset, then went to sleep for 2 hours to wake up again at 2 in the morning to shoot a few night-ish photos (it never gets truly dark). Then slept 1,5 hours to wake up and catch sunrise. Then go to bed again.


Day 4, Waterfall Extraordinaire
I was tired after not really sleeping so we slept in that morning.
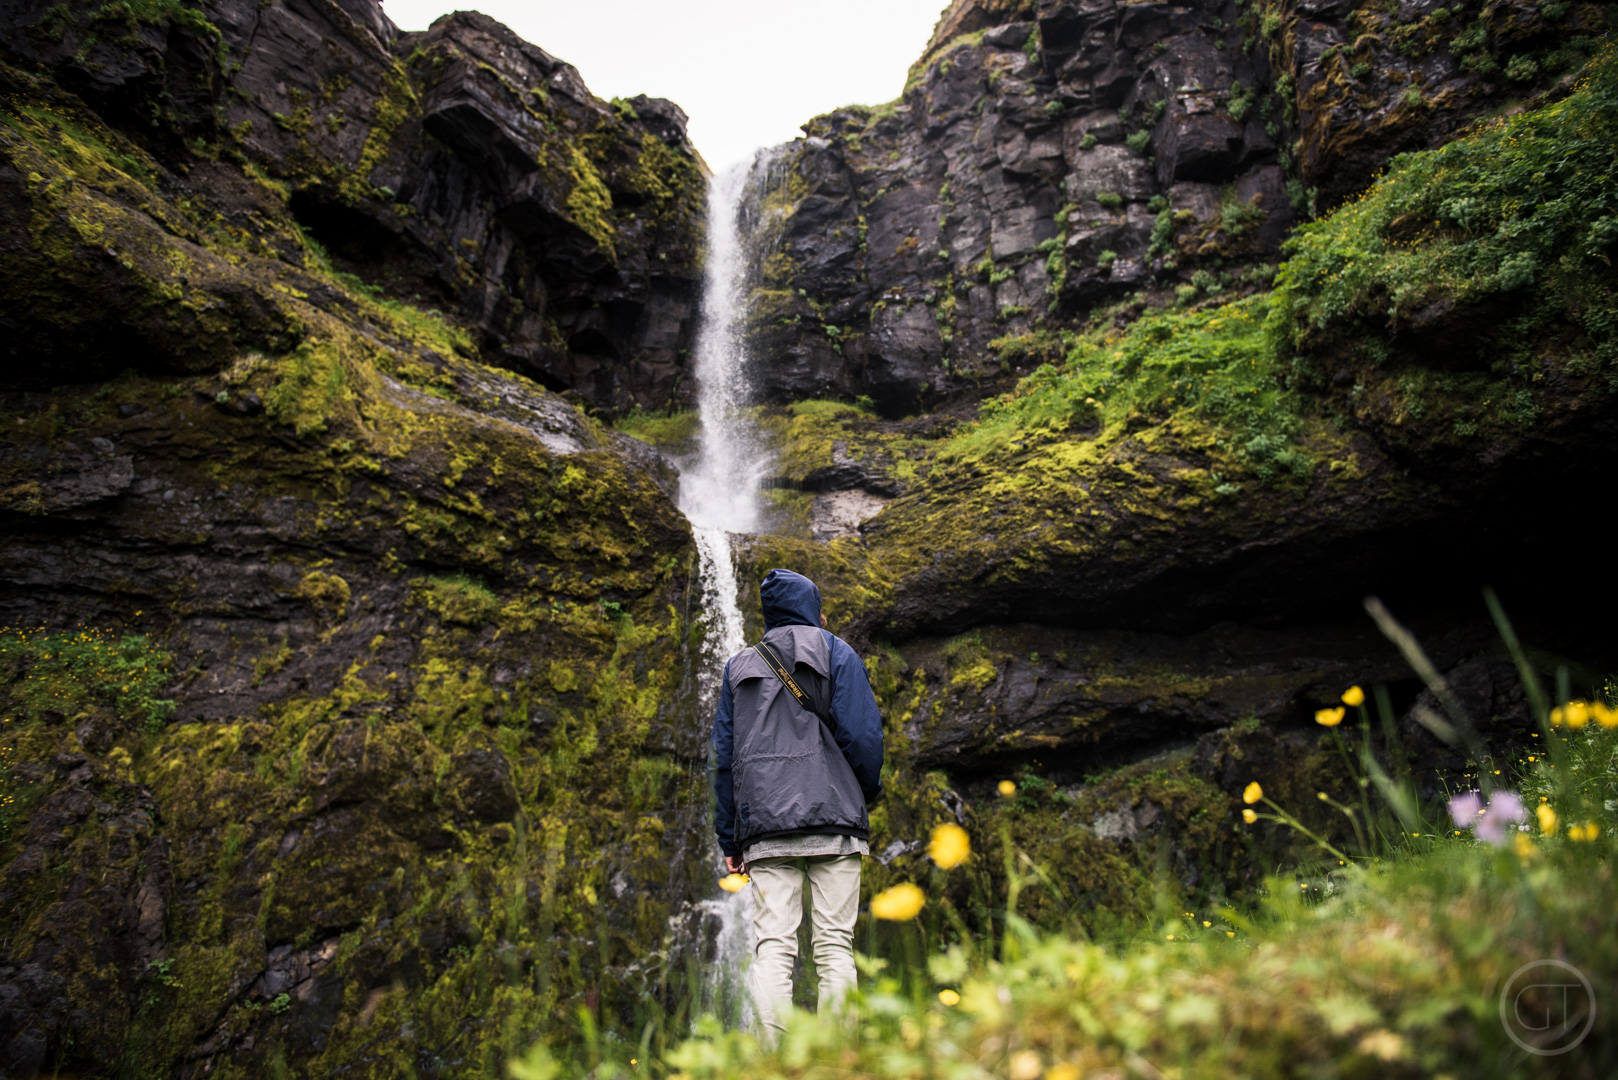
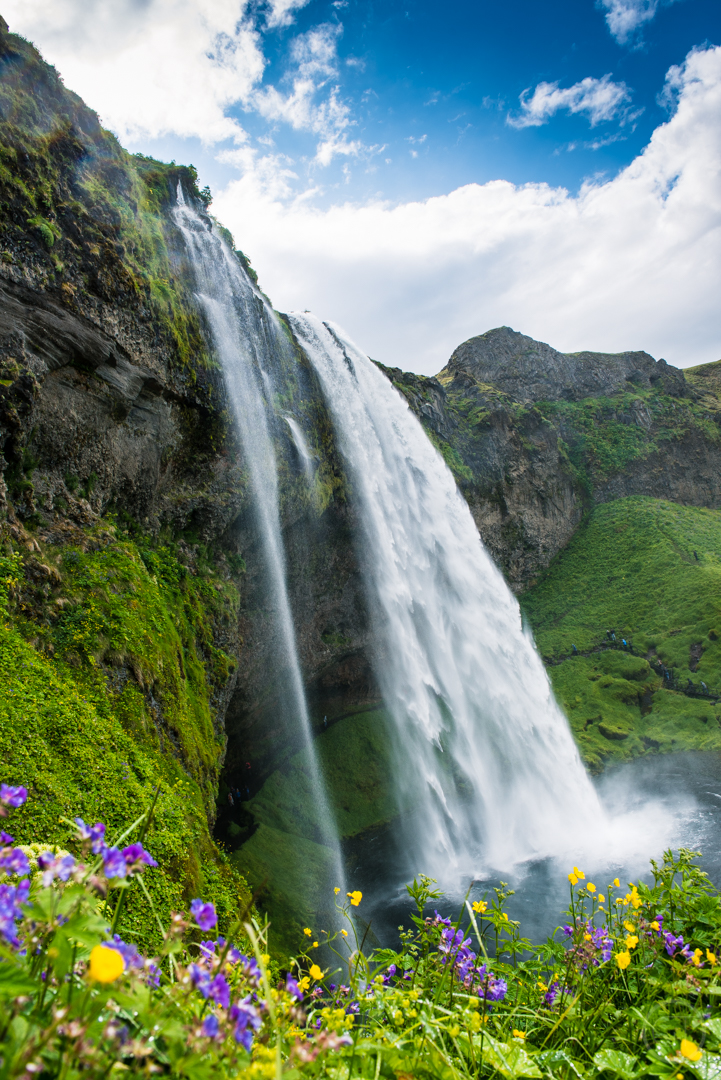
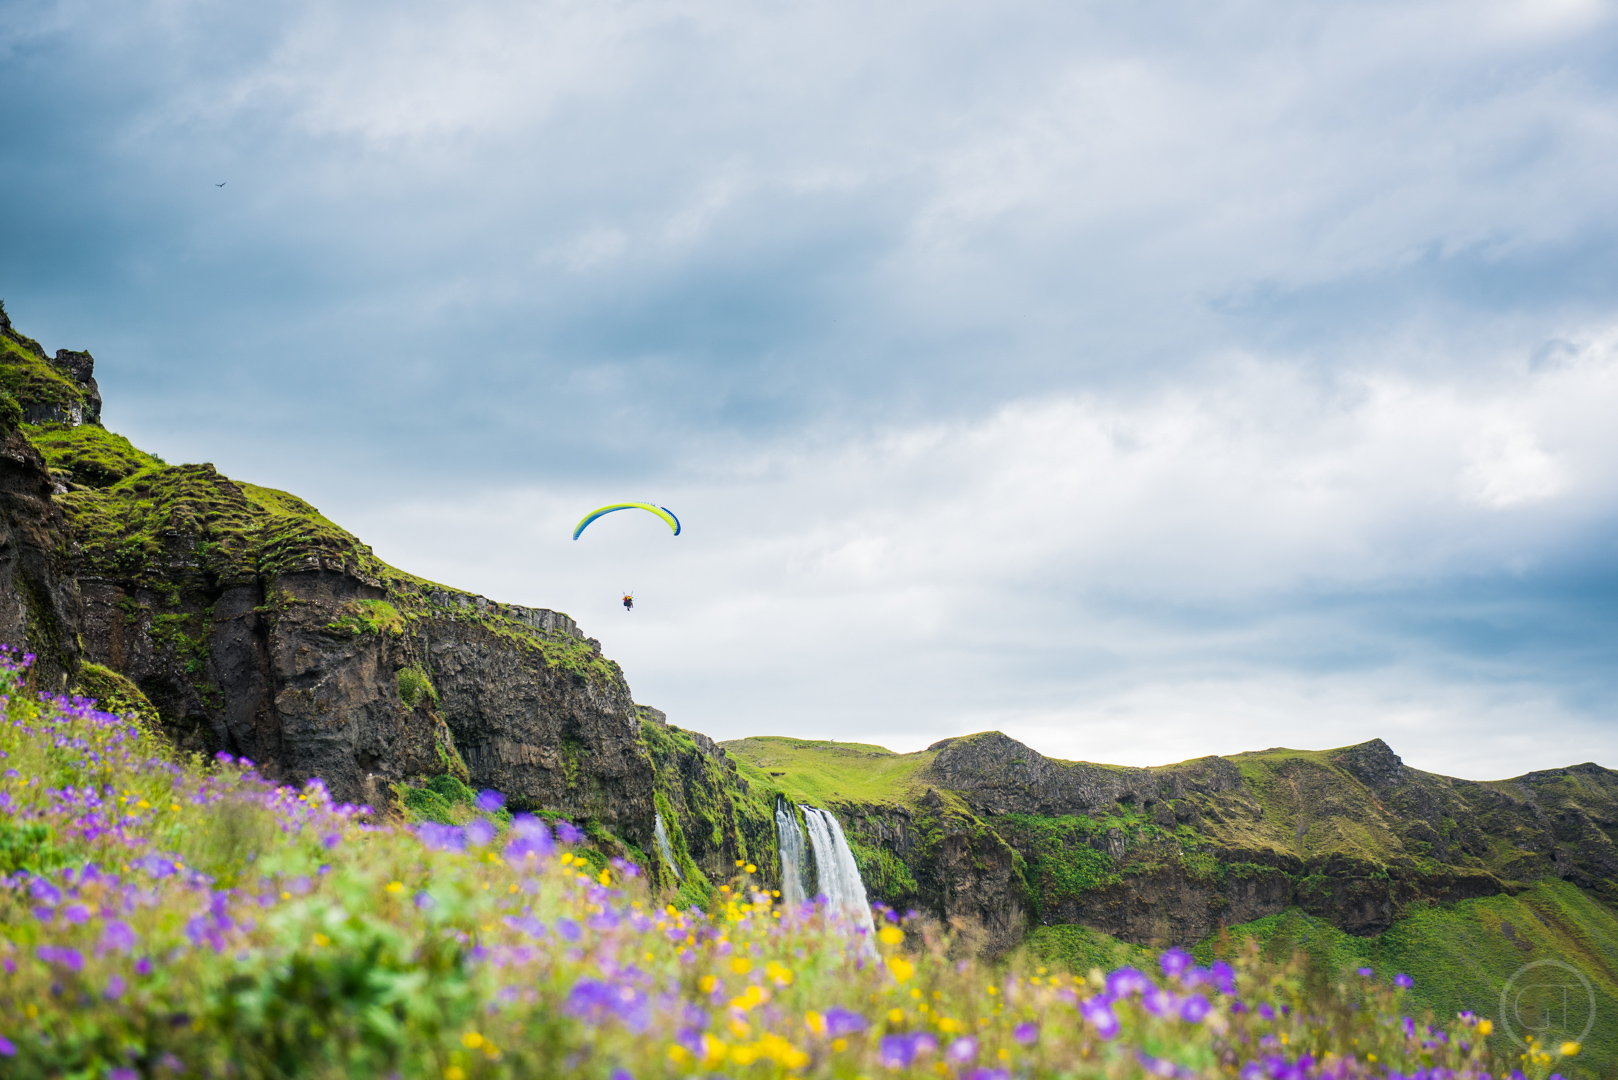
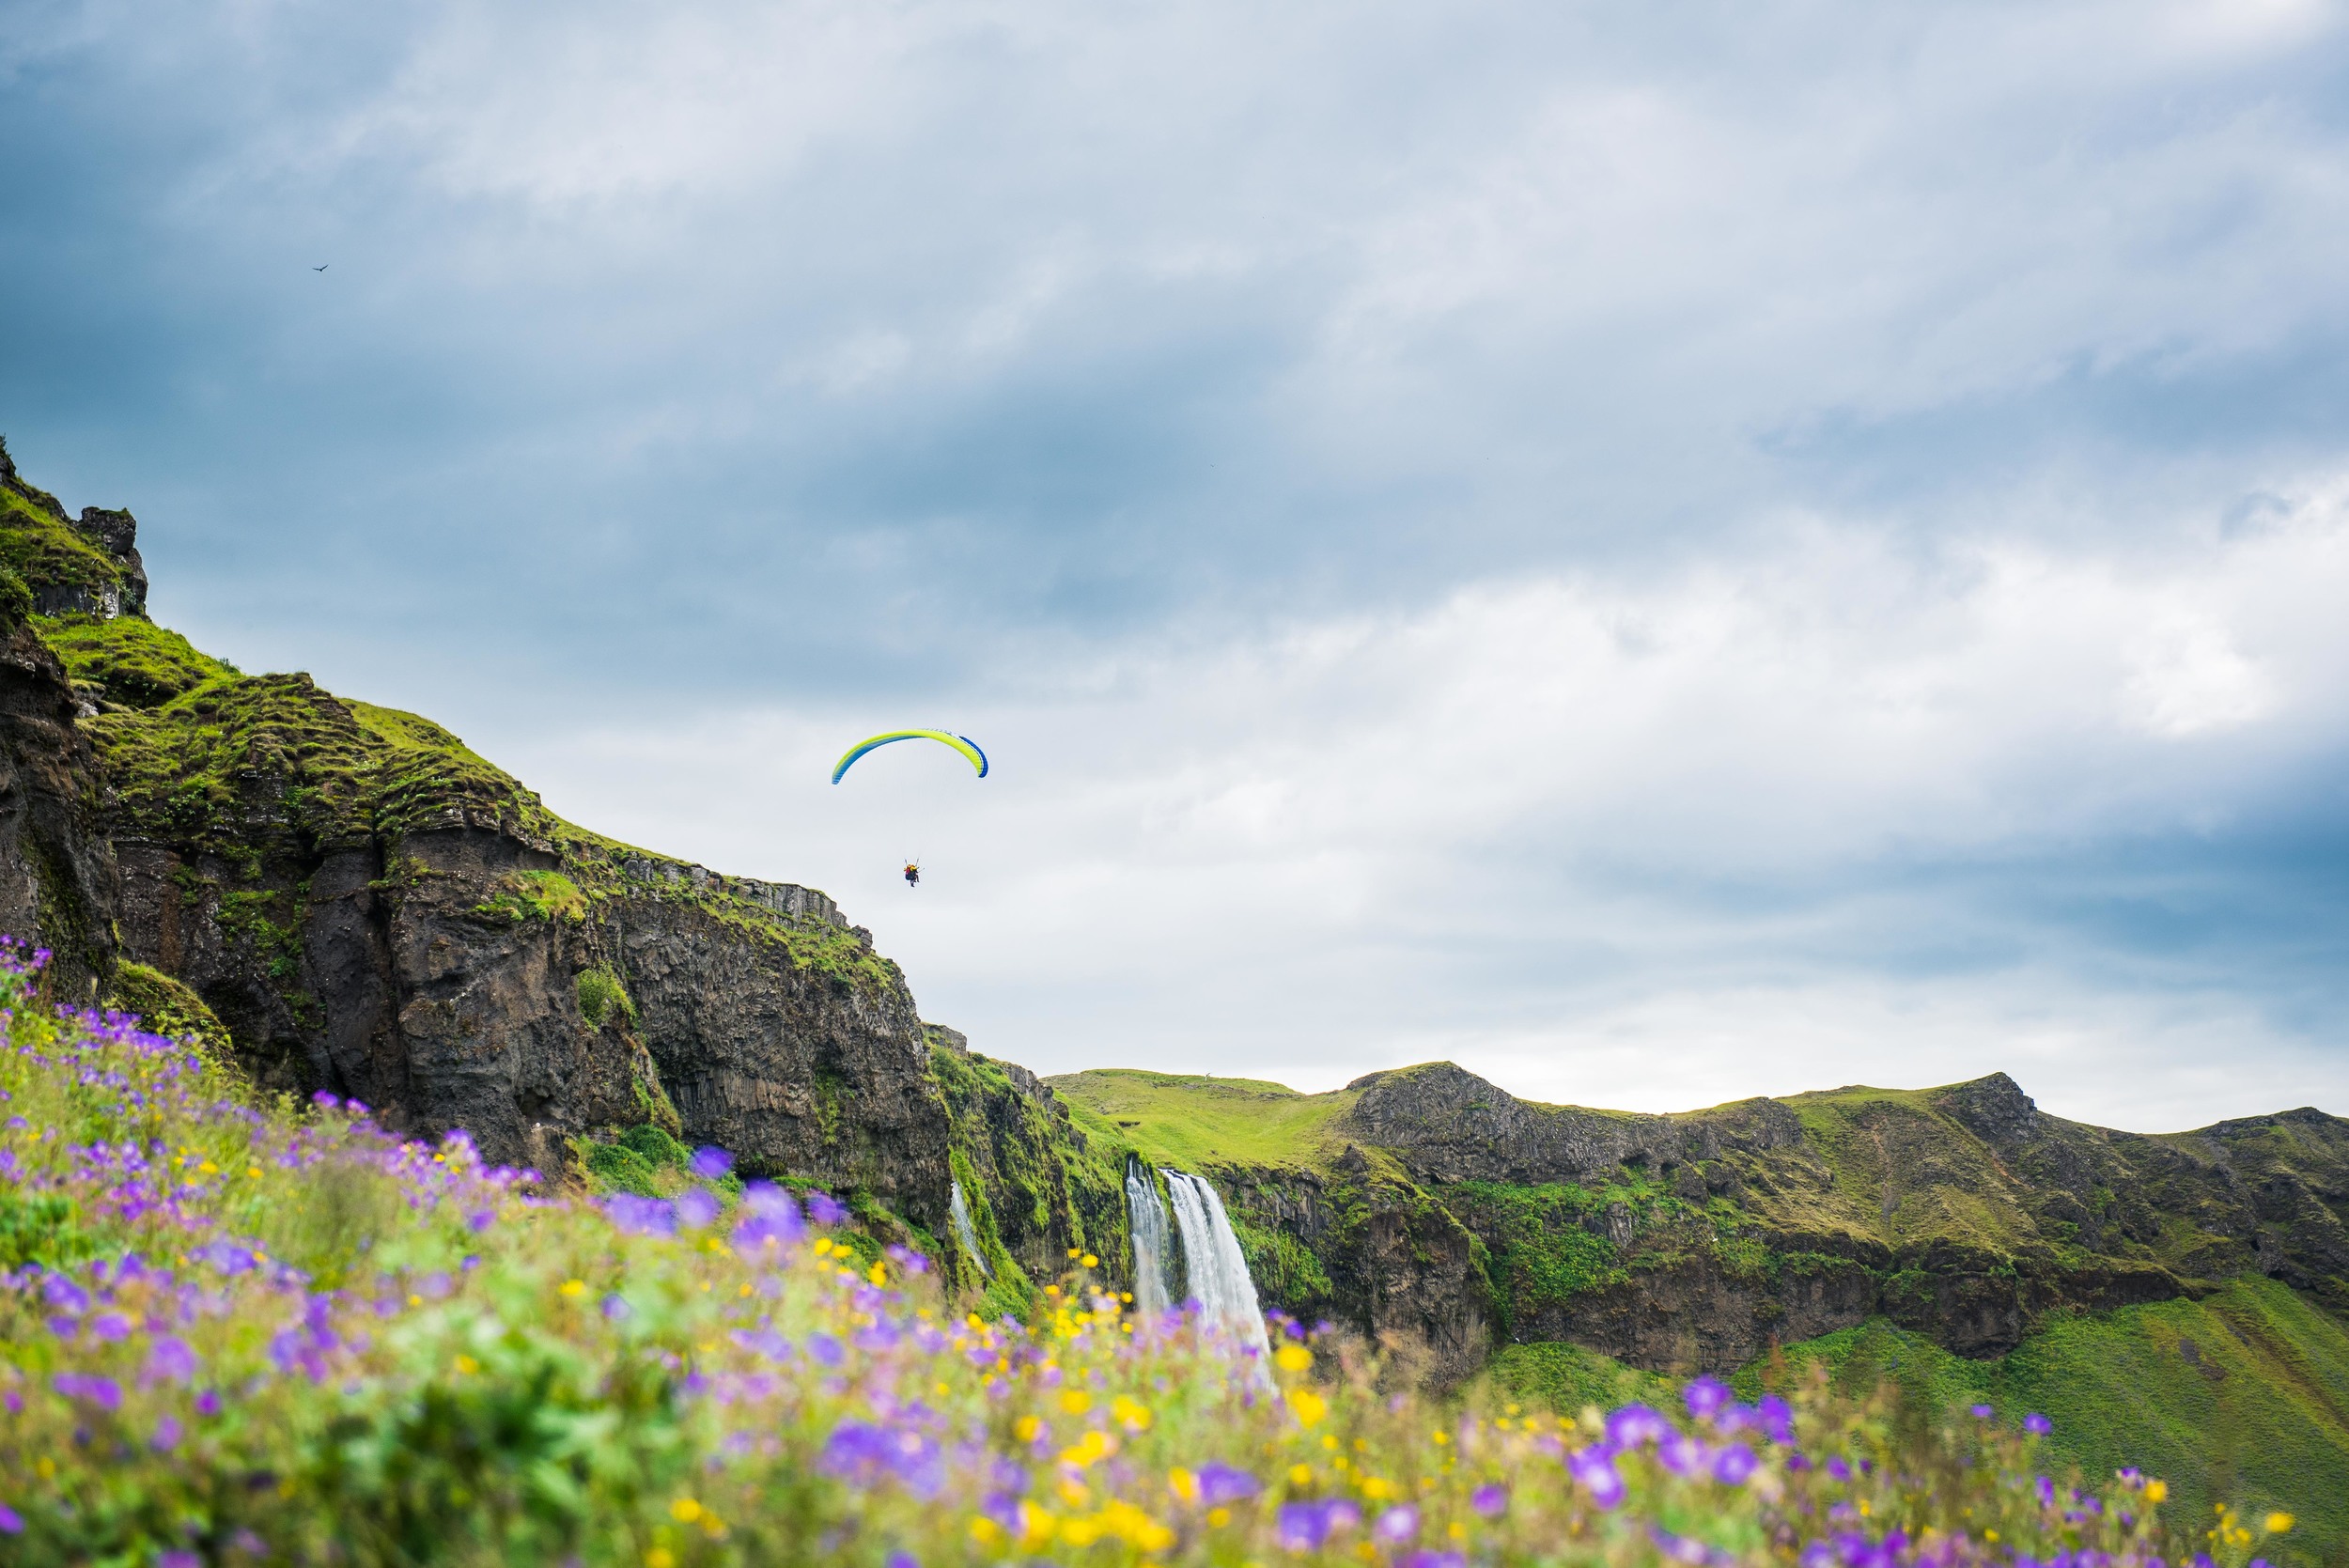
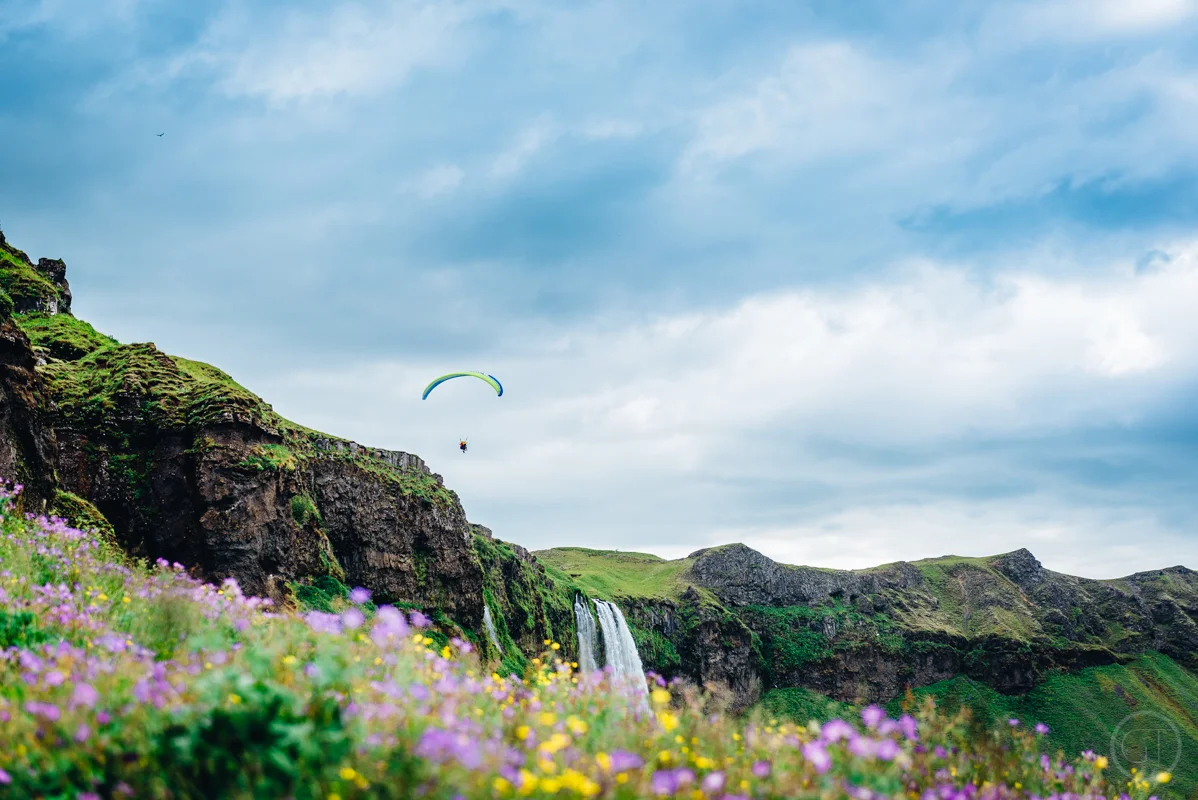
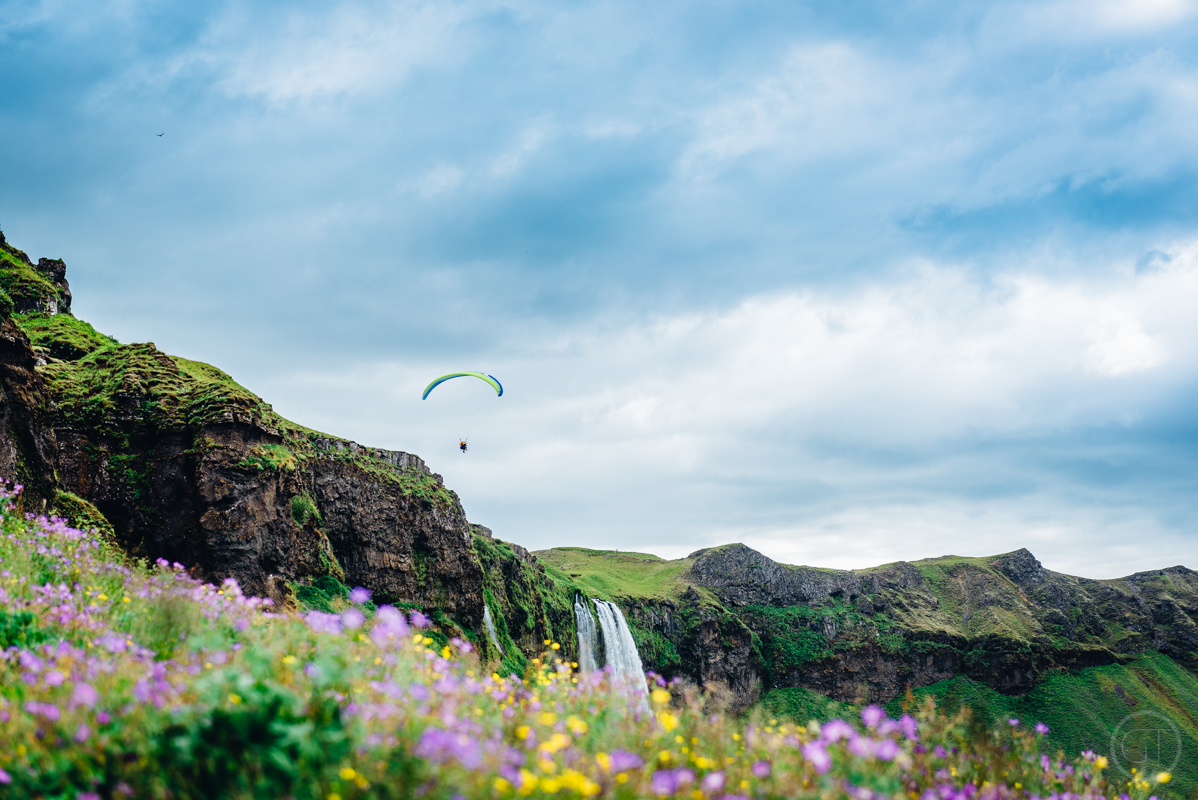
This day we would visit one of Iceland’s most prolific waterfalls: Seljalandsfoss. It is a 60m waterfall where you can walk behind the actual fall – so of course we had to try that (together with all the other tourists). A really cool experience!
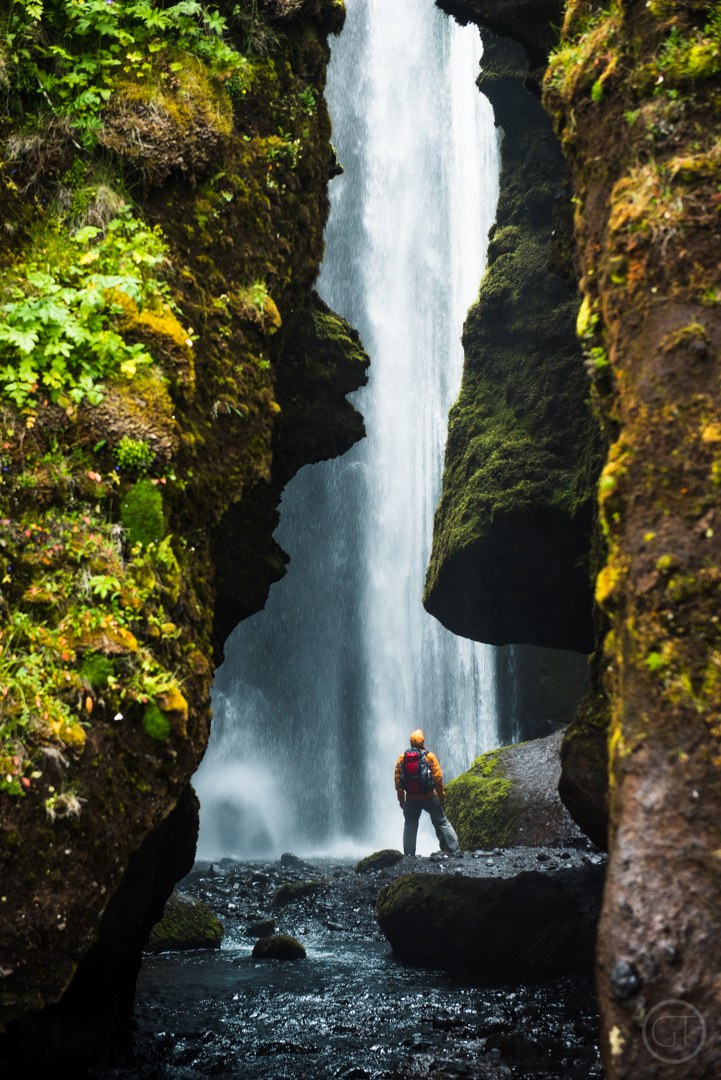
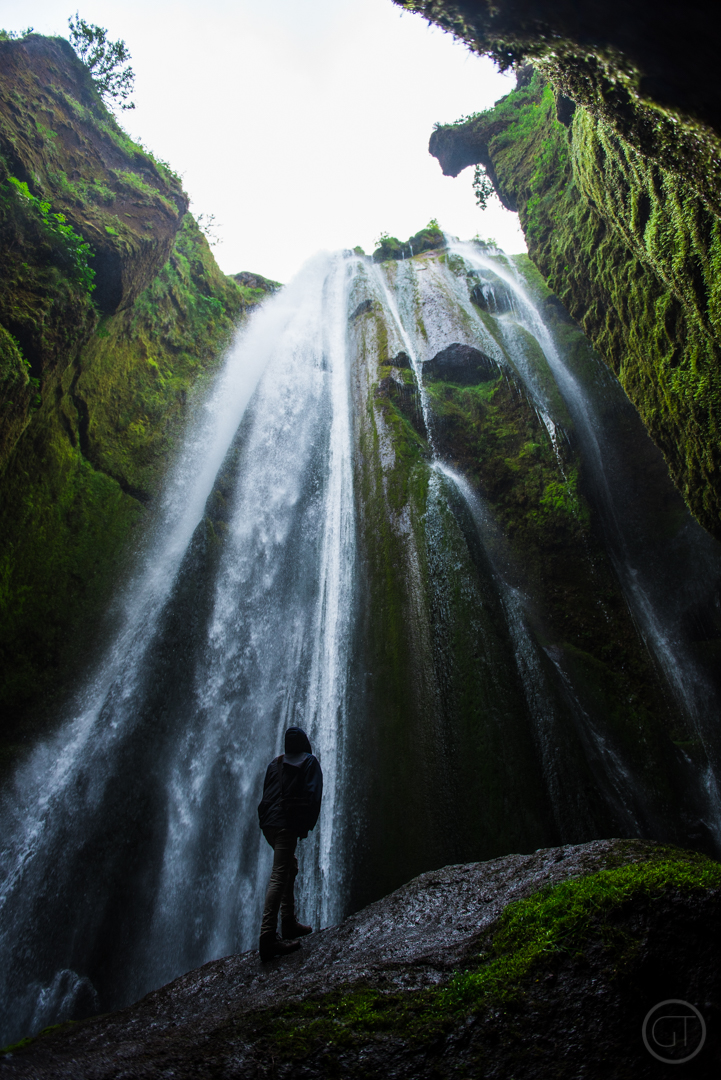
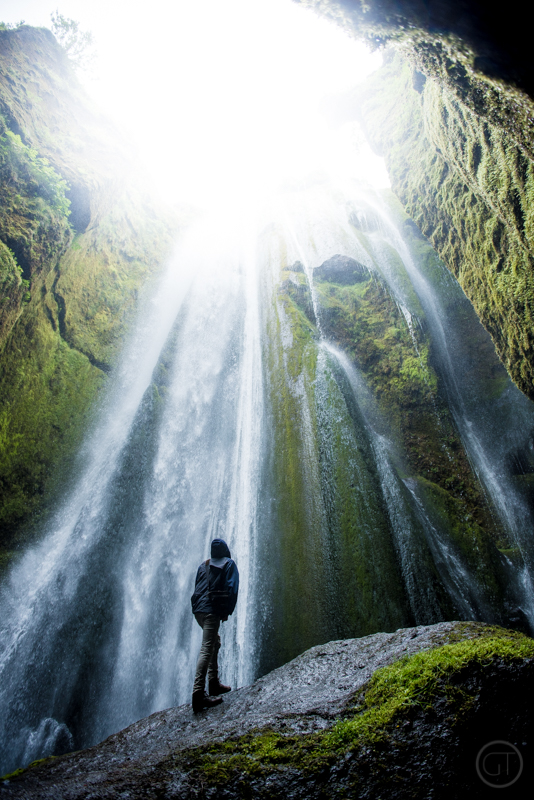
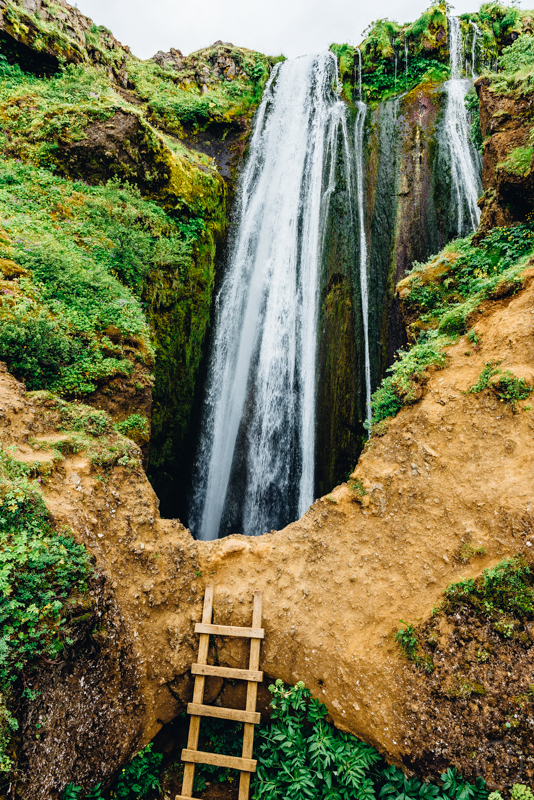
We saw a few people walk away from the waterfall. That piqued our attention. We went in the same direction and found what I would consider an even more incredible waterfall: Gljúfrabúi. The waterfall itself is hidden inside a canyon. You can see this waterfall by either walking into the canyon through a narrow slot or by climbing a steep path up the cliffs. The cliff path is a little sketchy, so please be cautious. While all the other tourists are busy at Seljalandsfoss you can have the Gljúfrabúi waterfall mostly to yourself. This is a must visit – much cooler than Seljalandsfoss in my opinion.
After some waterfall action we had headed to the Sólheimajökull glacier not too far away. I apparently didn’t shoot any photos there – maybe because it was a sad sight. A big black tongue with white spots here and there and a massive river coming from it. Oh I felt bad flying to Iceland and driving around in a car. A reminder that we have to take better care of our planet. Worth a visit before it’s gone…
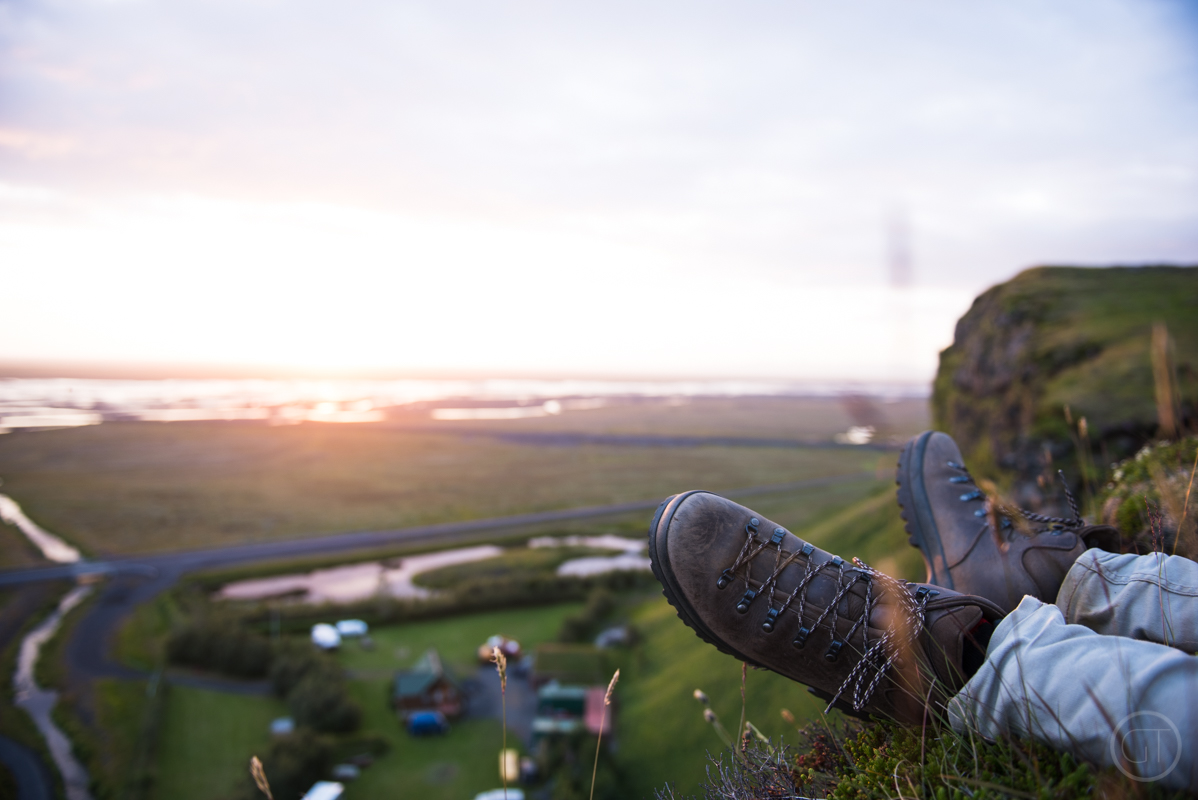
After a nap overlooking the glacier we decided to head back towards Seljalandsfoss and find a campsite on the way. We didn’t find any but earlier at Seljalandsfoss we had spotted a road going up behind the waterfalls and made the decisions to go up there and find a spot for the night. That was a good decision! An epic view with a colorful sunset made for an unforgettable experience sitting on the edge of the 60m drop.


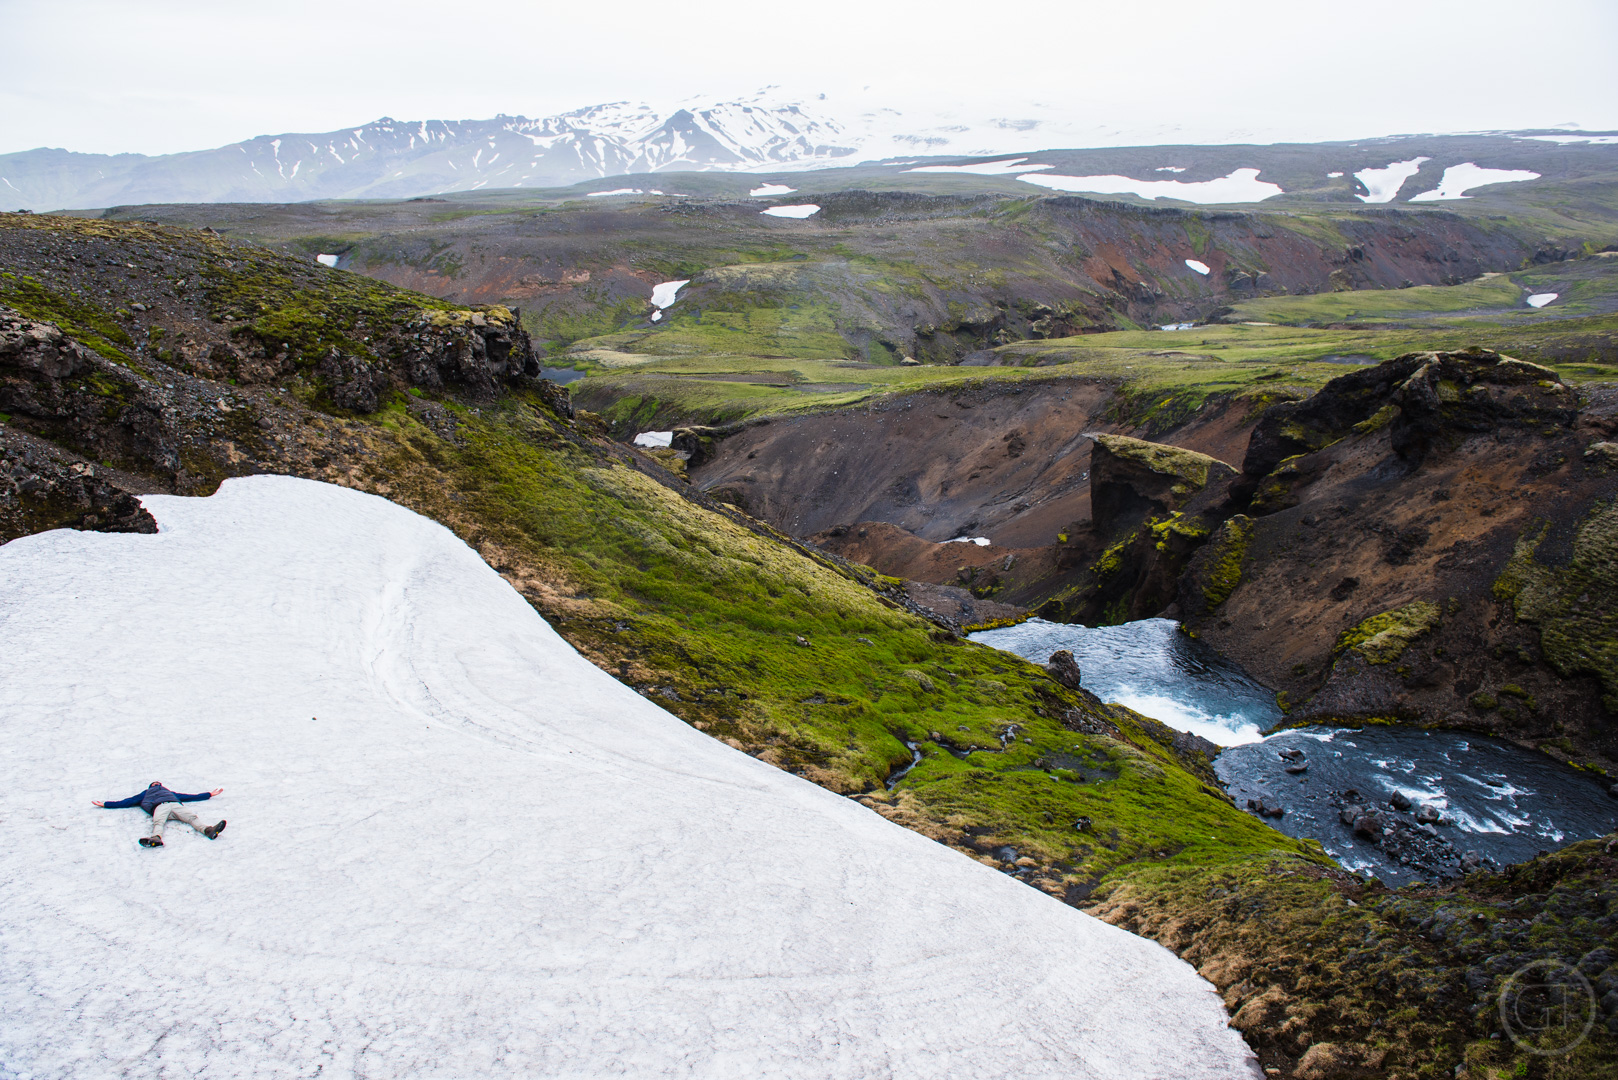
Day 5, Hike to the Snow
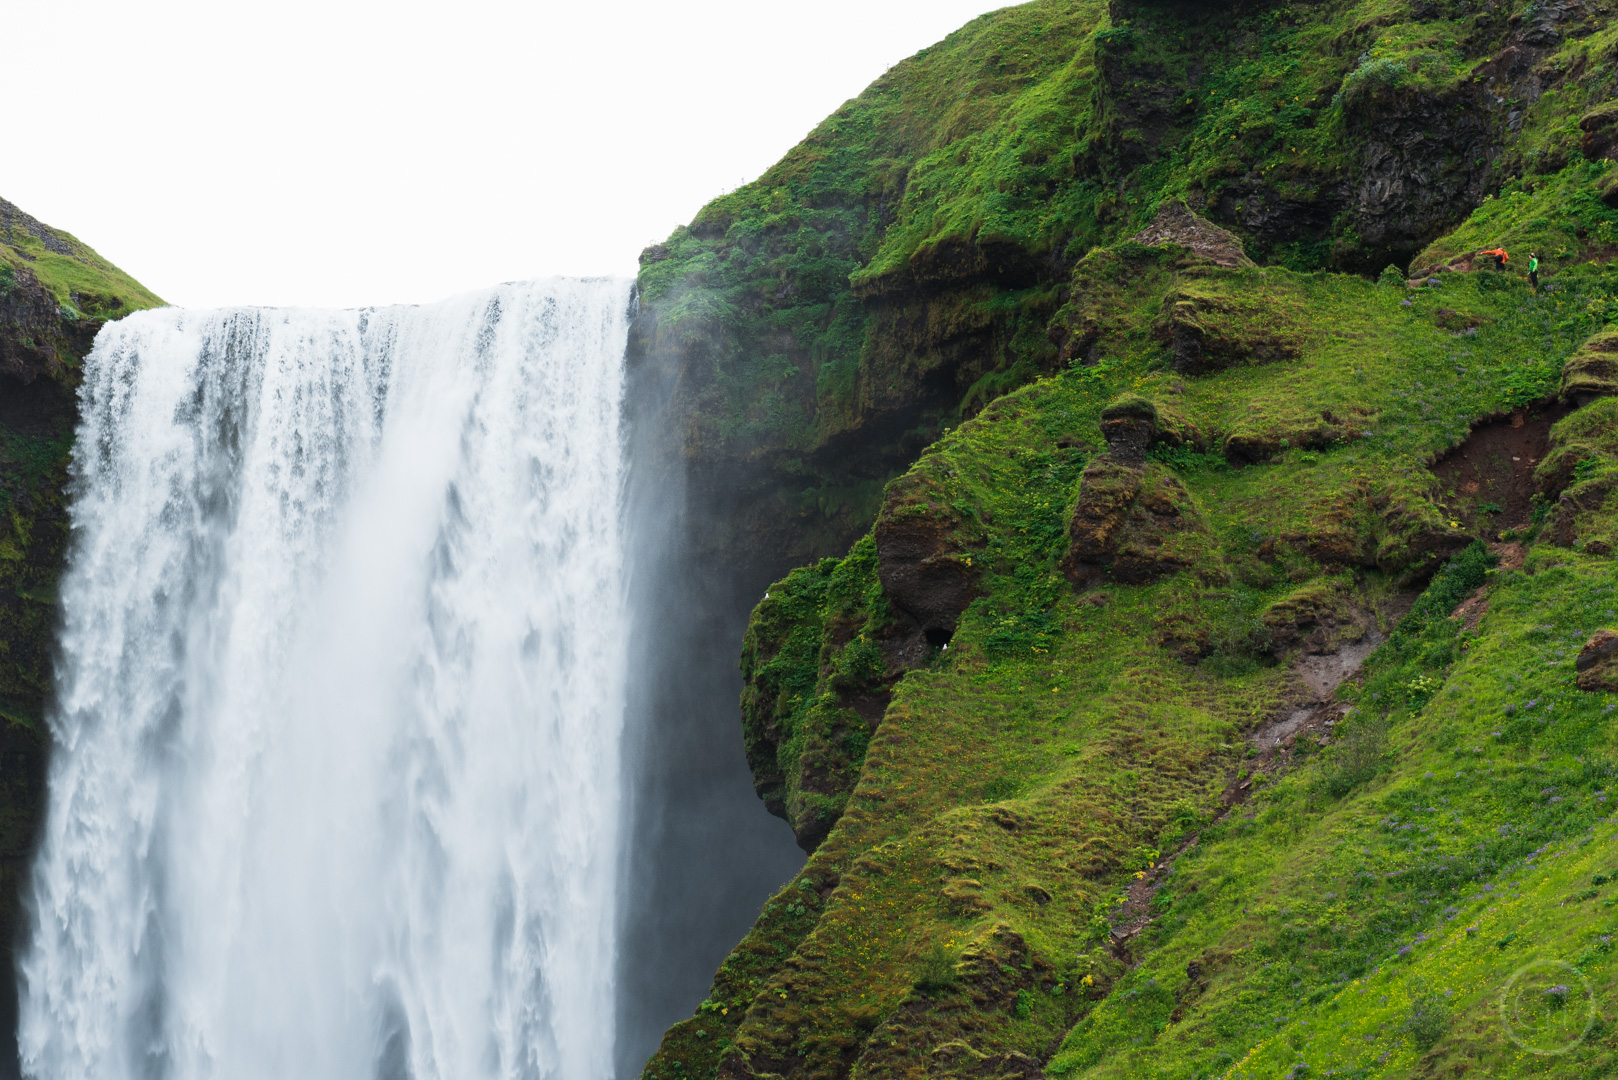
This day started where the last ended – a waterfall. We started the morning by driving to Skógafoss which is probably the most famous waterfall in Iceland. This is due to its sheer size: It is massive. But other than its size I didn’t find it particularly exciting. What was exciting was the trail we spotted after we had climb the long stairs to the top of the fall. We quickly agreed to give it a shot. Down we went, packed a day pack, up again.
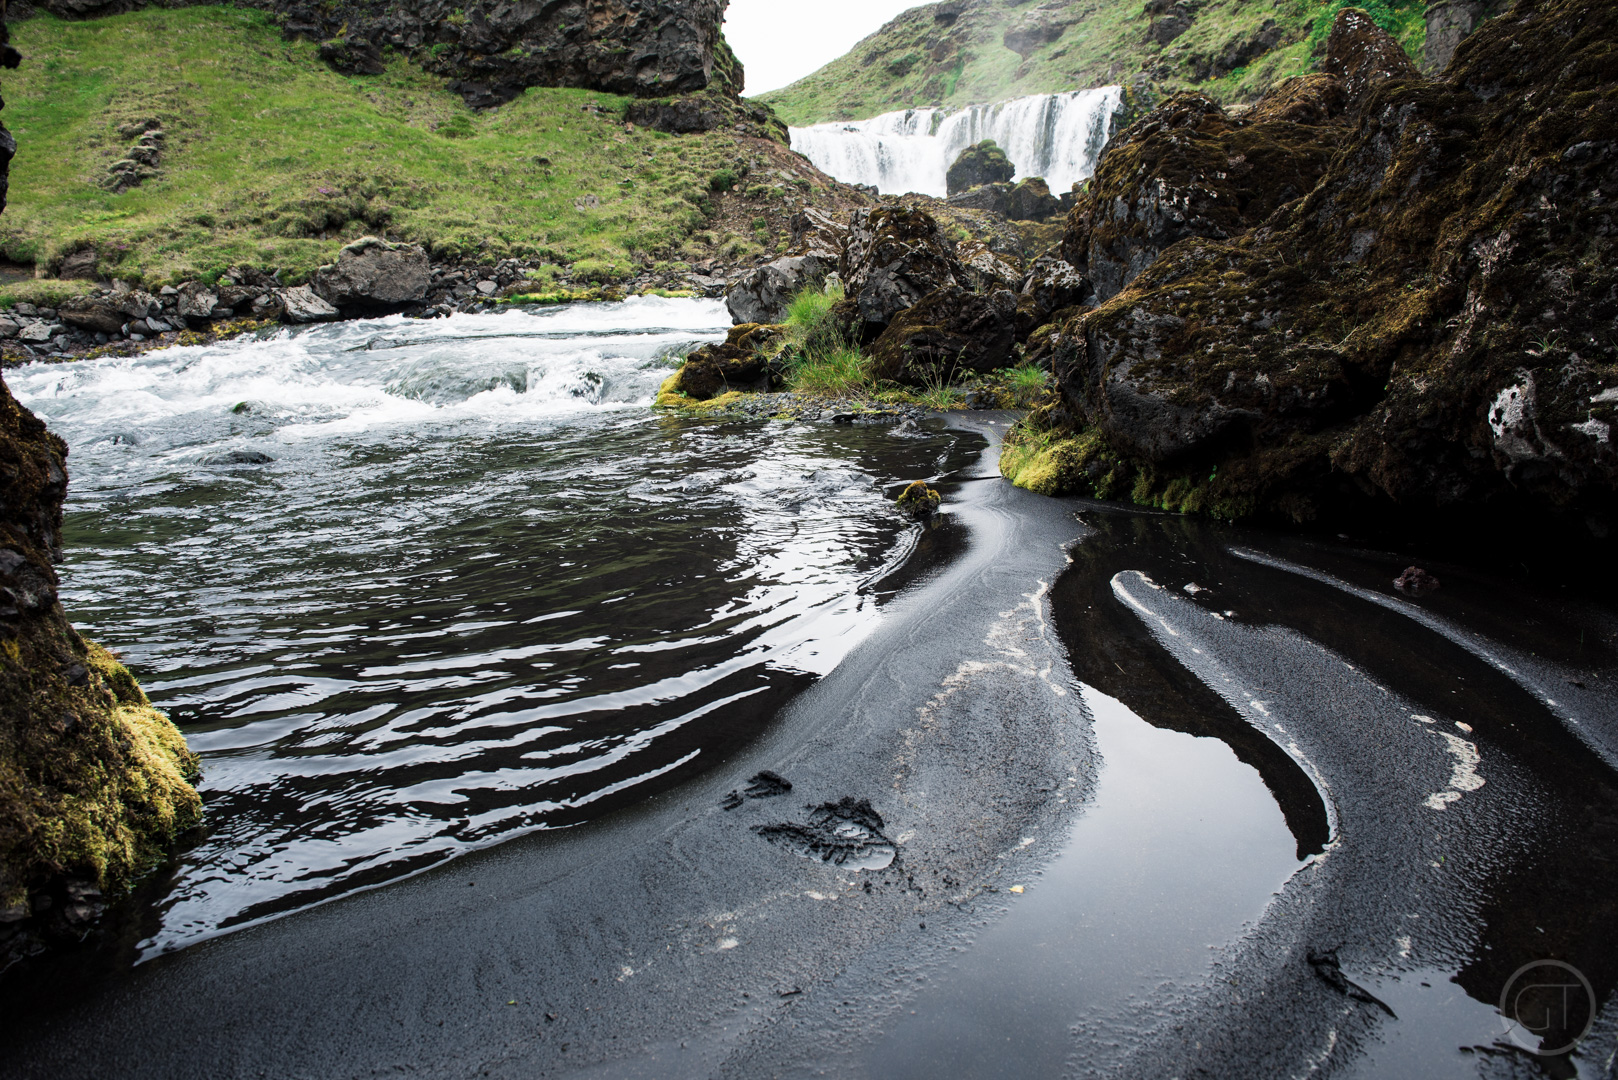
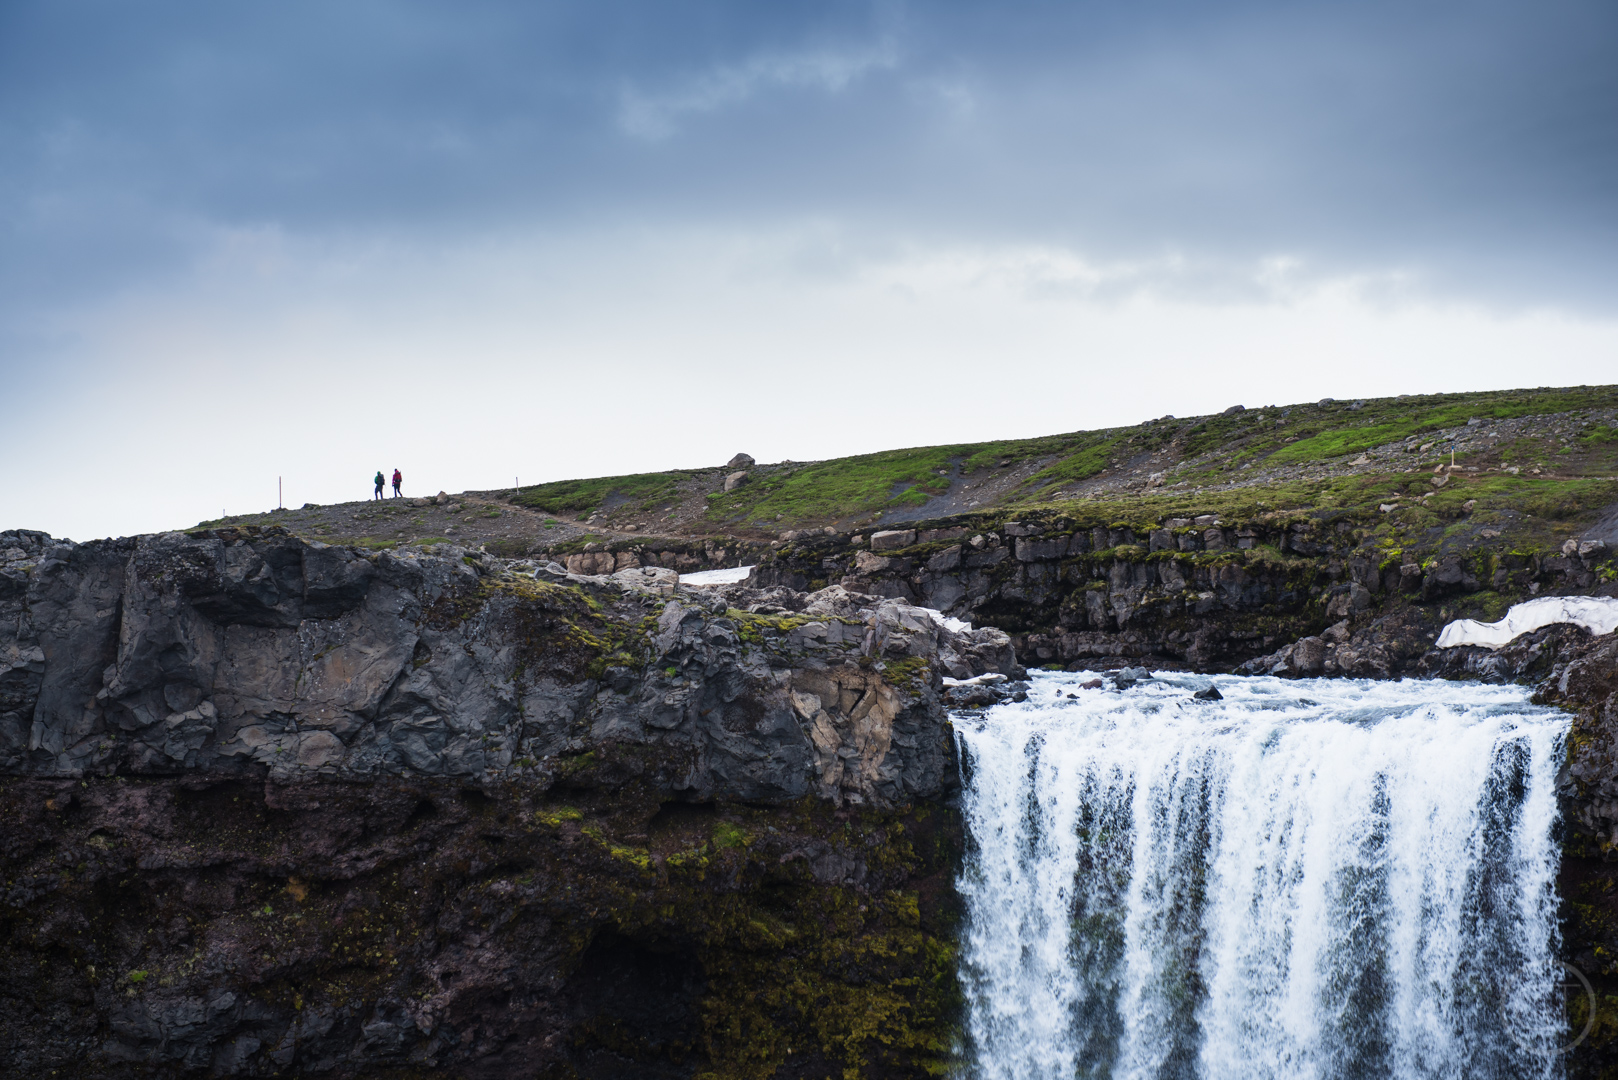
This hike turned out to be spectacular! Tons of beautiful waterfalls and deep canyons with the mountains of the highlands in the background. We decided to walk until we found snow. And after 3 hours we did. We continued a bit further after that until we hit a bridge where the trail diverged from the river and went towards Landmannalaugar - which was the point we decided to turn around. It is interesting to see how the crowds thin out as soon as one must put in some work to see the sights.
As we came back it was late afternoon and drove to Vík to find a campsite and maybe a hot shower. But we didn’t find it particularly intriguing. So we went back to Skóga and pitched the tent in the area above the waterfall. Which meant we had to go up and down the stairs once again. But is was worth it!


Day 6, Crash and Canyons
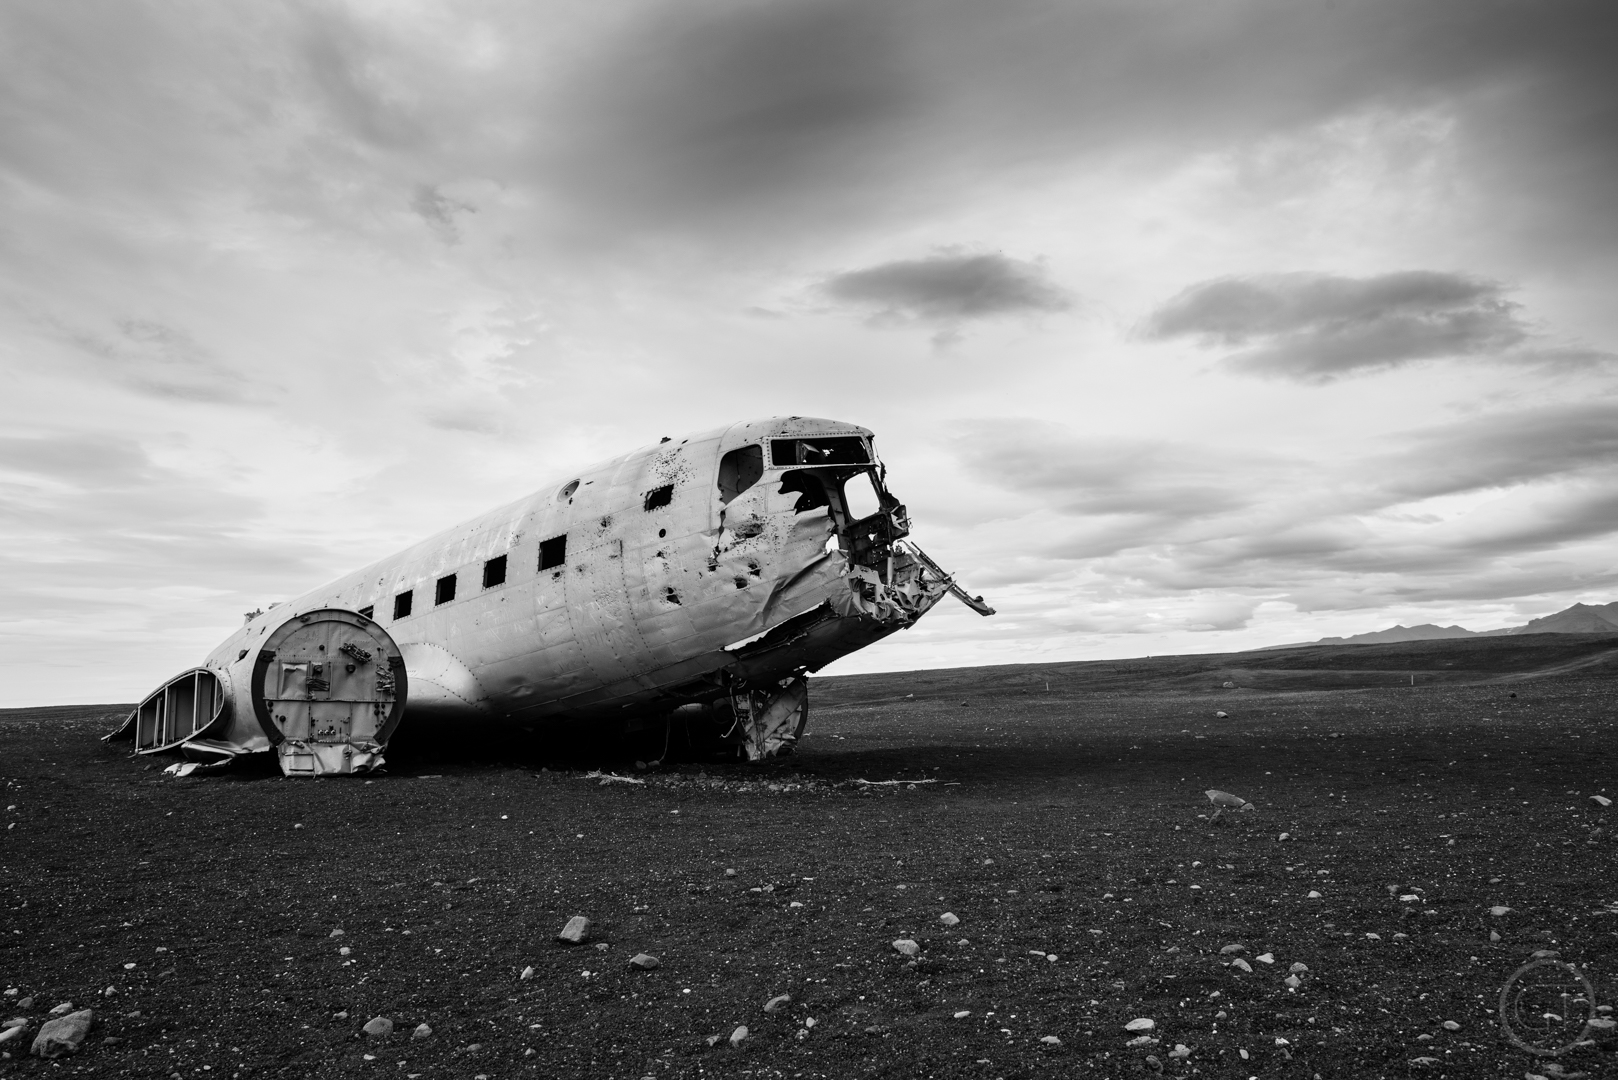
We started this day by searching for one thing we had been really looking forward to: The crashed plane. You have most certainly seen a picture of it.
It was a bit hard to find the start of the road towards the site - it is just a gate in a fence along the ring road. But we found it nonetheless (the exact point is in the Google Maps link). We turned down the gravel road but the rental car found its limit quickly. We politely parked the car and went out on foot. We followed the markings of the road into what looked like a never ending black desert. We were in doubt if we were the in right place as we couldn’t see any plane or signs. But suddenly a shiny metal cylinder showed up in contrast to the black landscape. It took us around an hour to walk there. There were a few other people there. I wanted a personless photo so we waited around. We chatted with a German couple, who were also waiting and they offered us a ride back in their 4x4. Thanks! After we got the photos we drove back to the car. It was now noon and about time to have some (very late) breakfast.
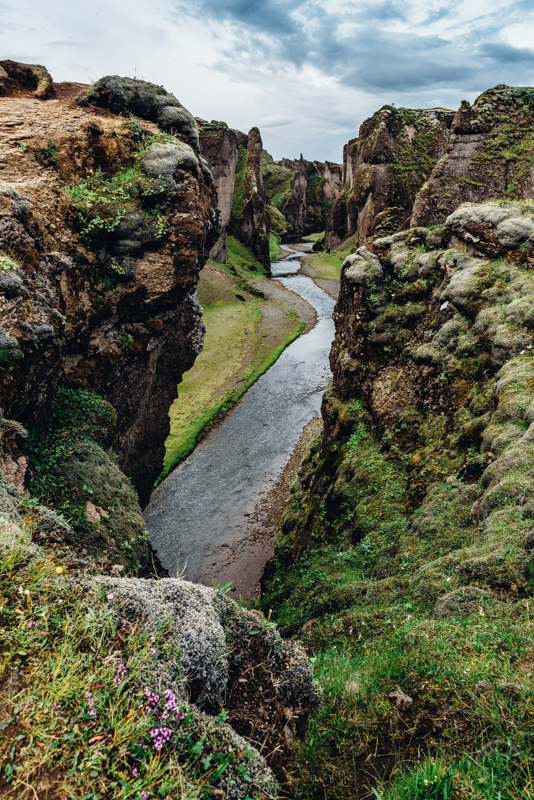
Then we drove towards Fjaðrárgljúfur, which is a spectacular canyon! A quite long drive but really beautiful sight. The shapes of the rocks were just spectacular. After another short nap, we decided to drive back towards Reykjavik so we didn’t have a super long drive the next day.
We found a spot along the road to pitch the tent – definitely not the most interesting campsite of the trip but not too bad either.


Day 7, Spa Day
As you might have noticed I haven’t mentioned anything about hotel rooms or organized campsites. Which meant the we hadn’t have a shower for quite a while – we had jumped in a little icy river at a point but we needed a shower (badly).
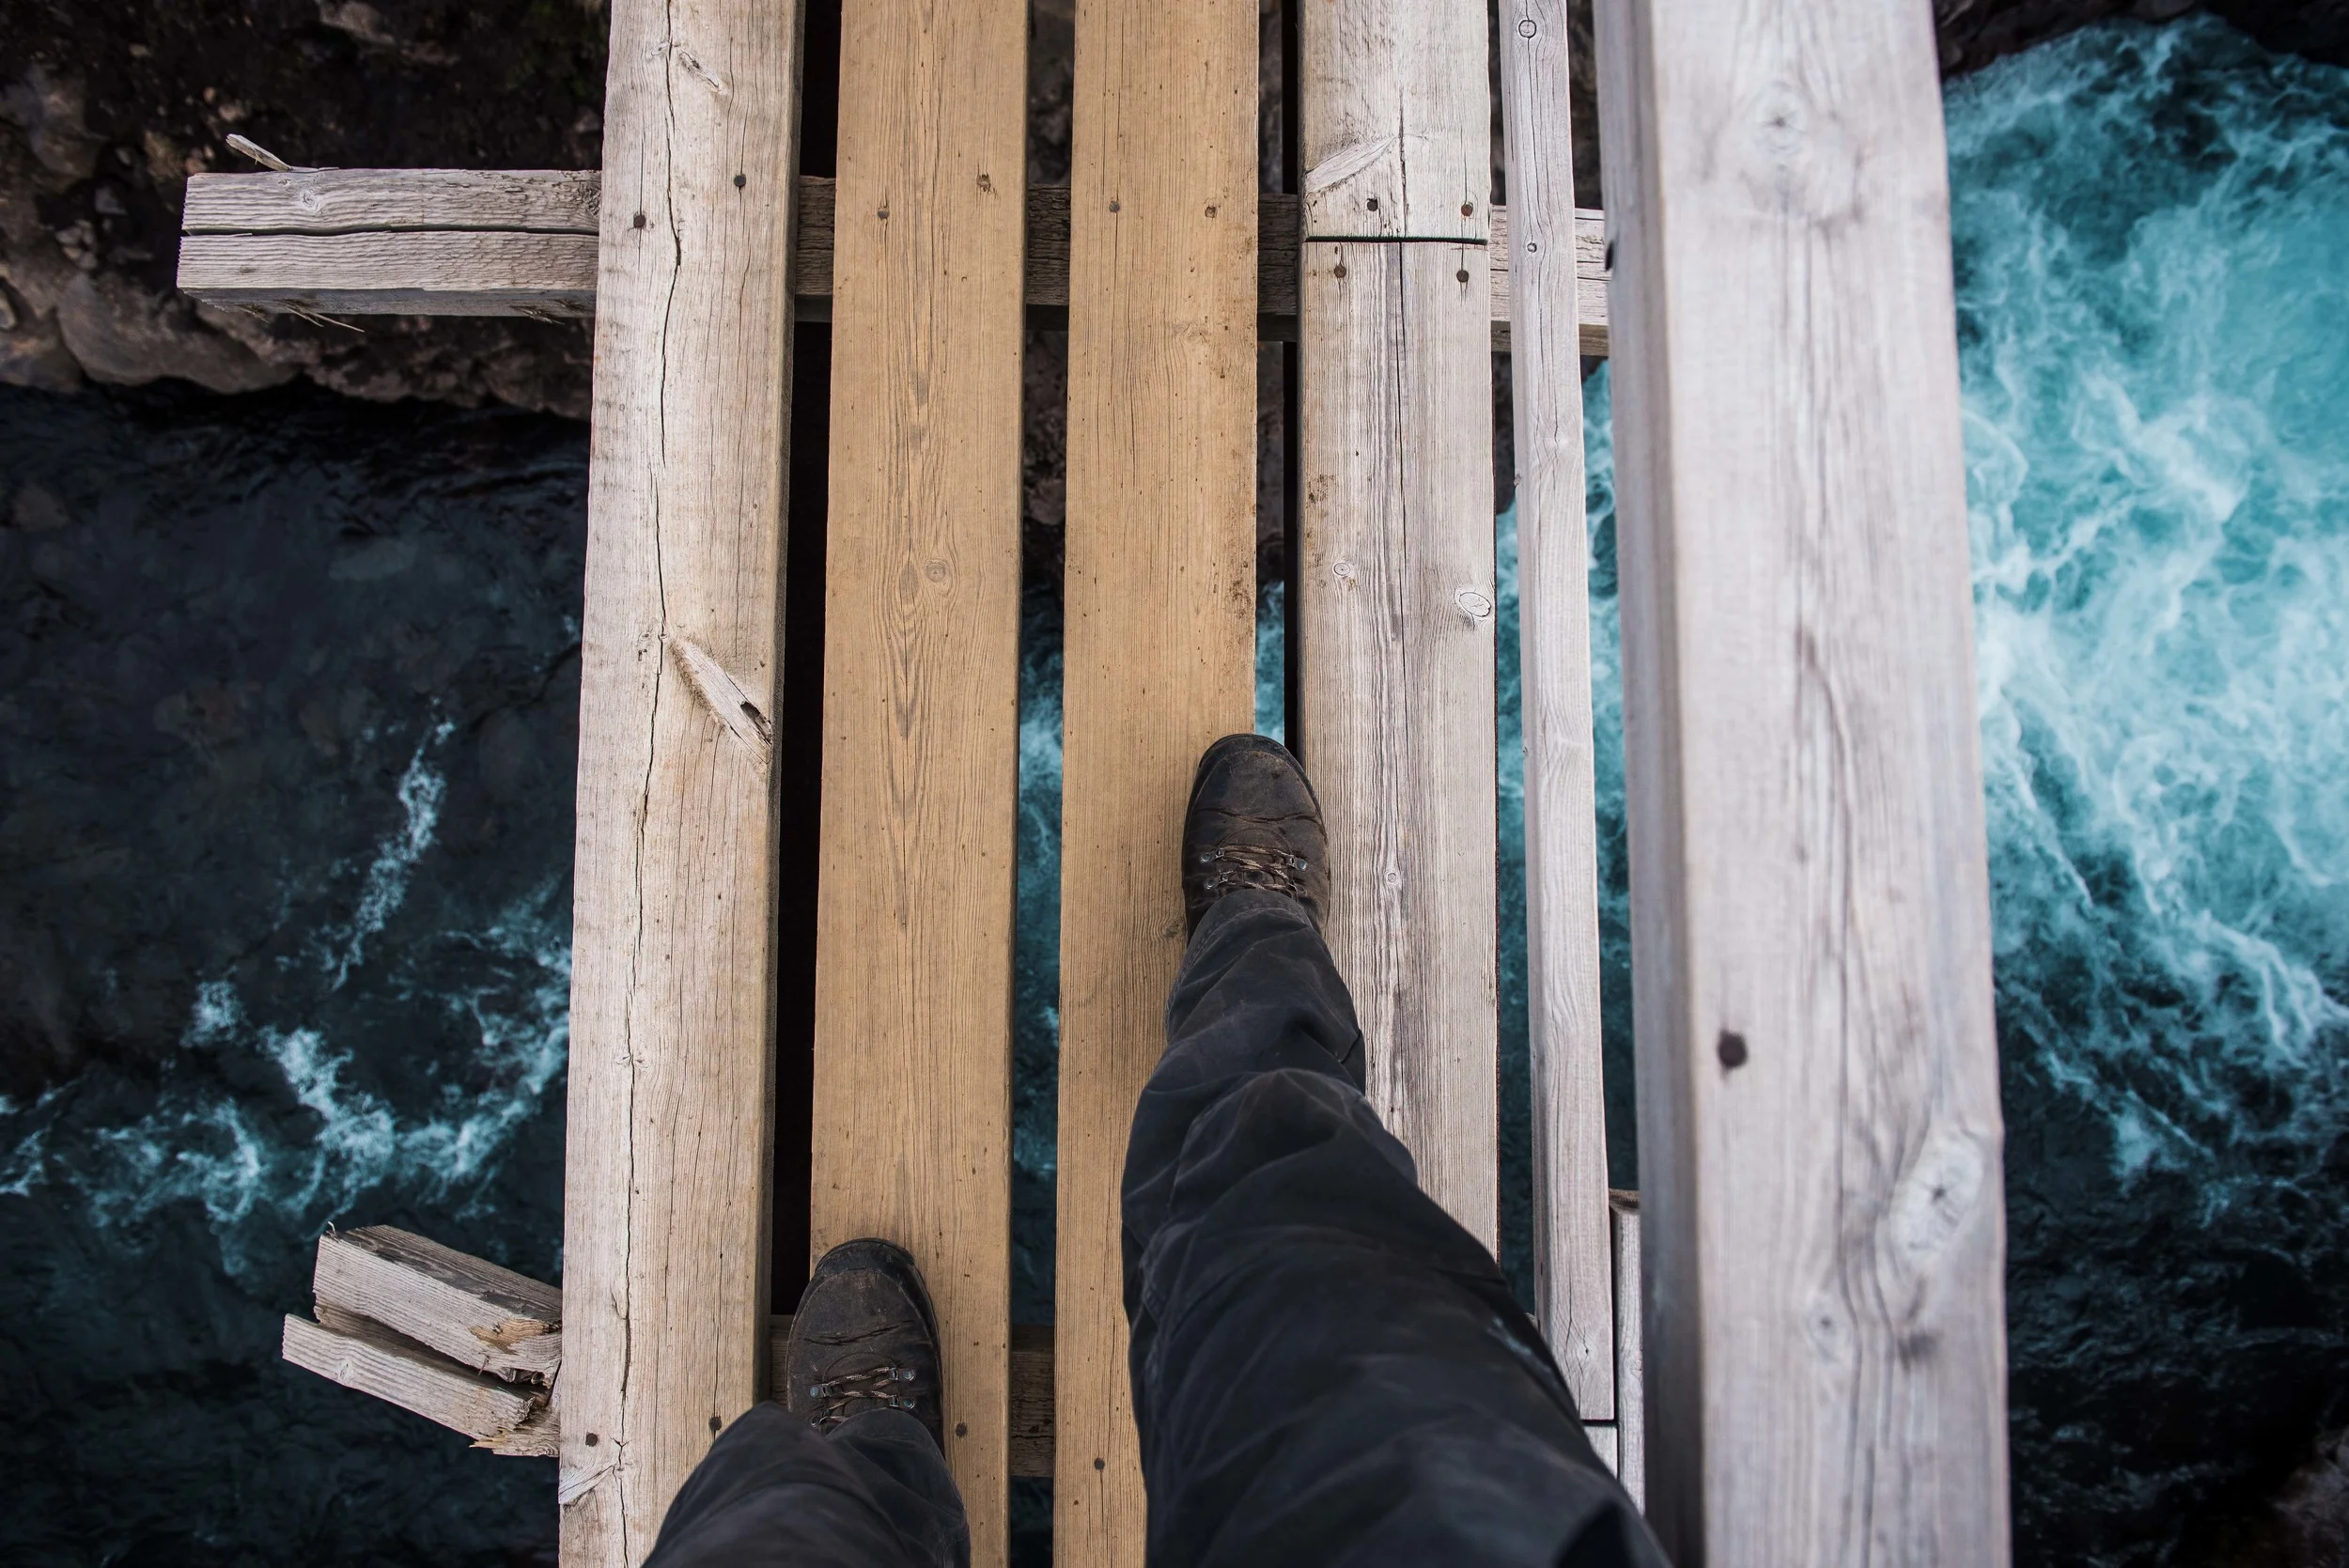
The Germans who gave us a ride had suggested some hot springs called Reykjadalur. It was on the way to Reykjavik/Keflavik so we decided to give it a go. We parked the car at the trailhead, packed a bag with towels and off we went.
About 1.5 hours later we arrived to a steaming hot river. Wooden platforms surrounded the river and made it feel like a real spa in the middle of the wilderness. There were of course other people but the hike in shaved off the masses.
We couldn’t wait to jump in. We found the best looking spot and dipped the toes – but it was too hot! We walked a bit further down and found a small pool where the temperature was more moderate. After spending a few hours here relaxing in the hot water we were onward to the next and final location: The most touristy spot in Iceland, The Blue Lagoon. Super commercial, but super nice after week in the wild! (Remember you have to make a booking...).
After this you are fairly close to the airport and can return your rental car and jump on a plane. Or as we did return the car and jumped on bus and spend a few days in Reykjavik – I would say about 2 days is sufficient in Reykjavik as it’s not the biggest city.


That was how we spent the days in Iceland. I feel like we got a nice tasting menu of Iceland - but I still feel like there is so much more to explore. When travelling I always get more curious - what if I turned right instead of left? The world doesn't become smaller, it grows.